Click here to watch the video!
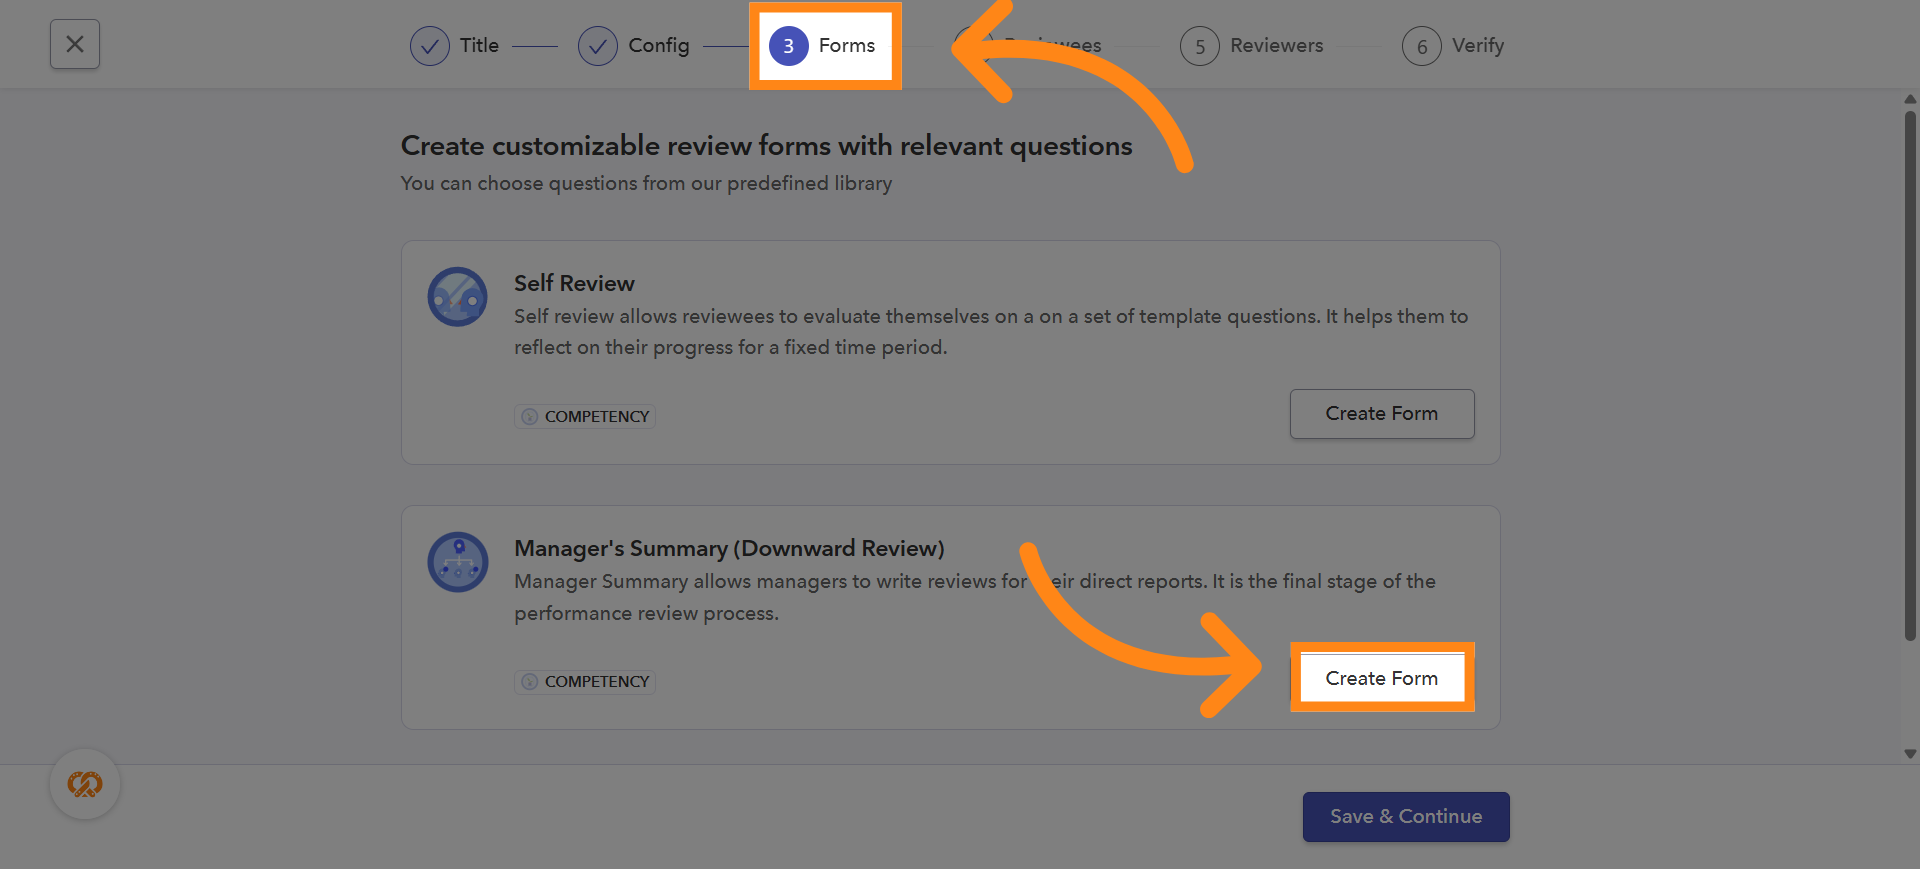
1. Choosing a Reviewer Type to Add Questions
Under Step 3 Forms, you will see the different reviewer types enabled for the review cycle. Click on the Create Form option under the reviewer type for which you want to add questions
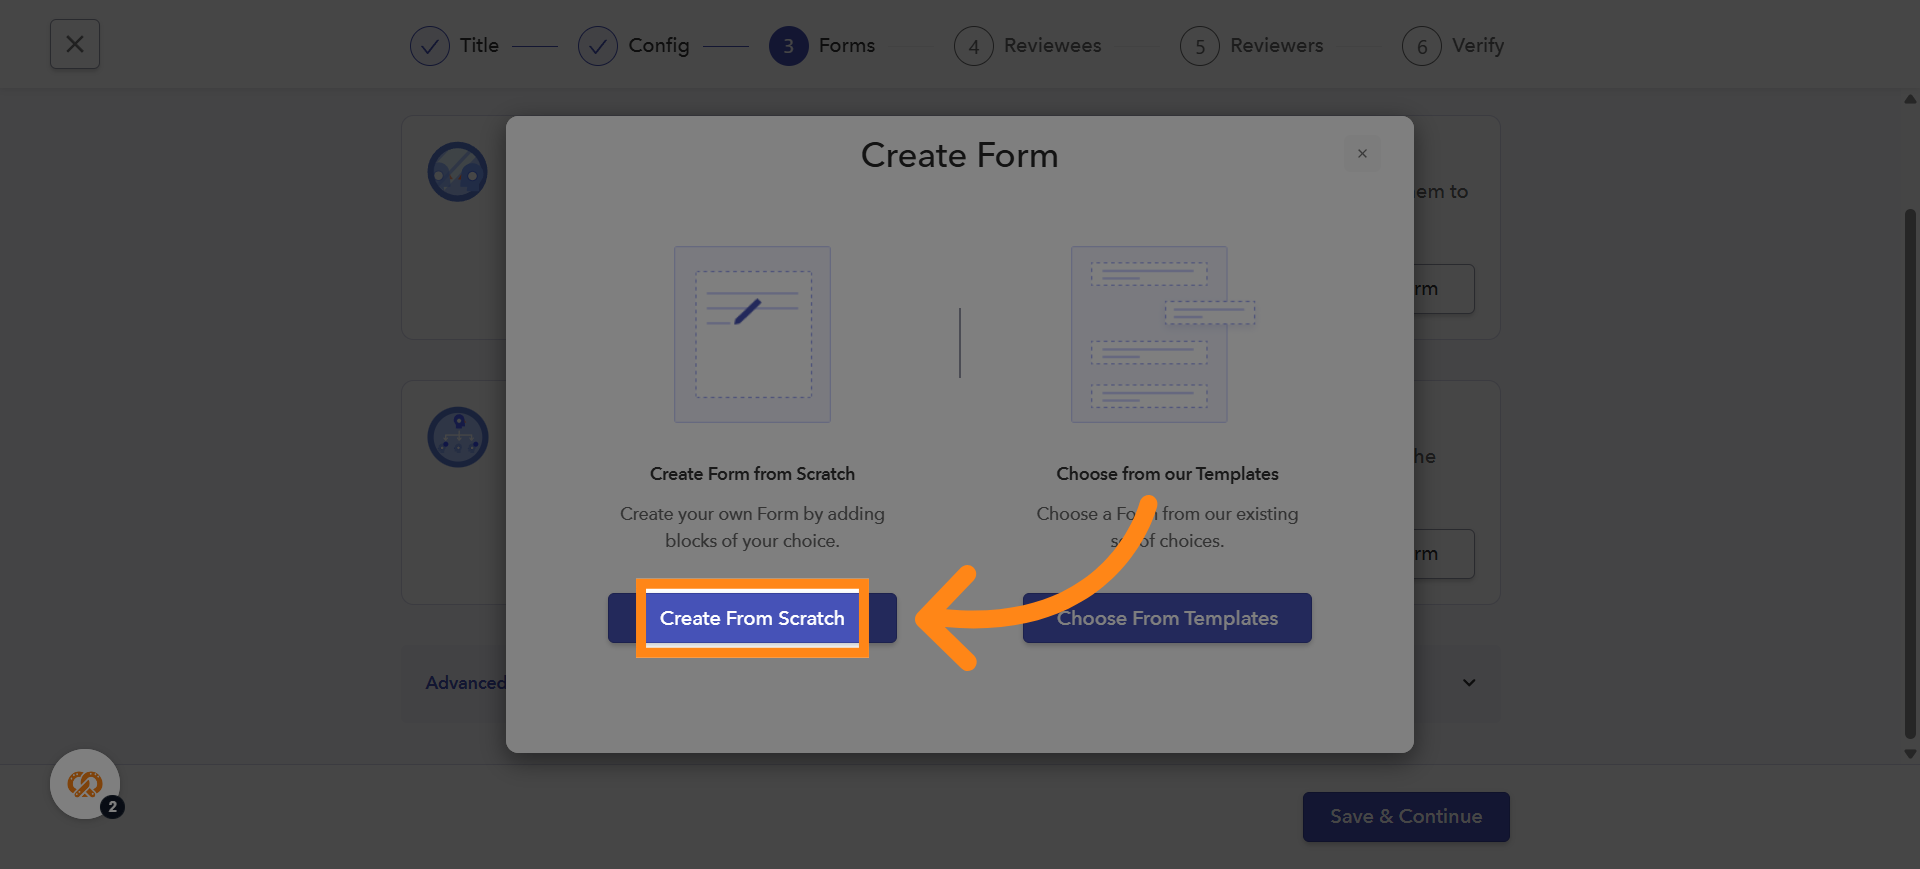
2. Create Form Scratch
You can either Create from Scratch or Choose from Templates. If you choose Create from Scratch, you will need to manually add all questions. If you choose from Templates, you can directly use a set of pre-defined template-based questions. Now, we will learn how to create a form from scratch. Click on Create from Scratch
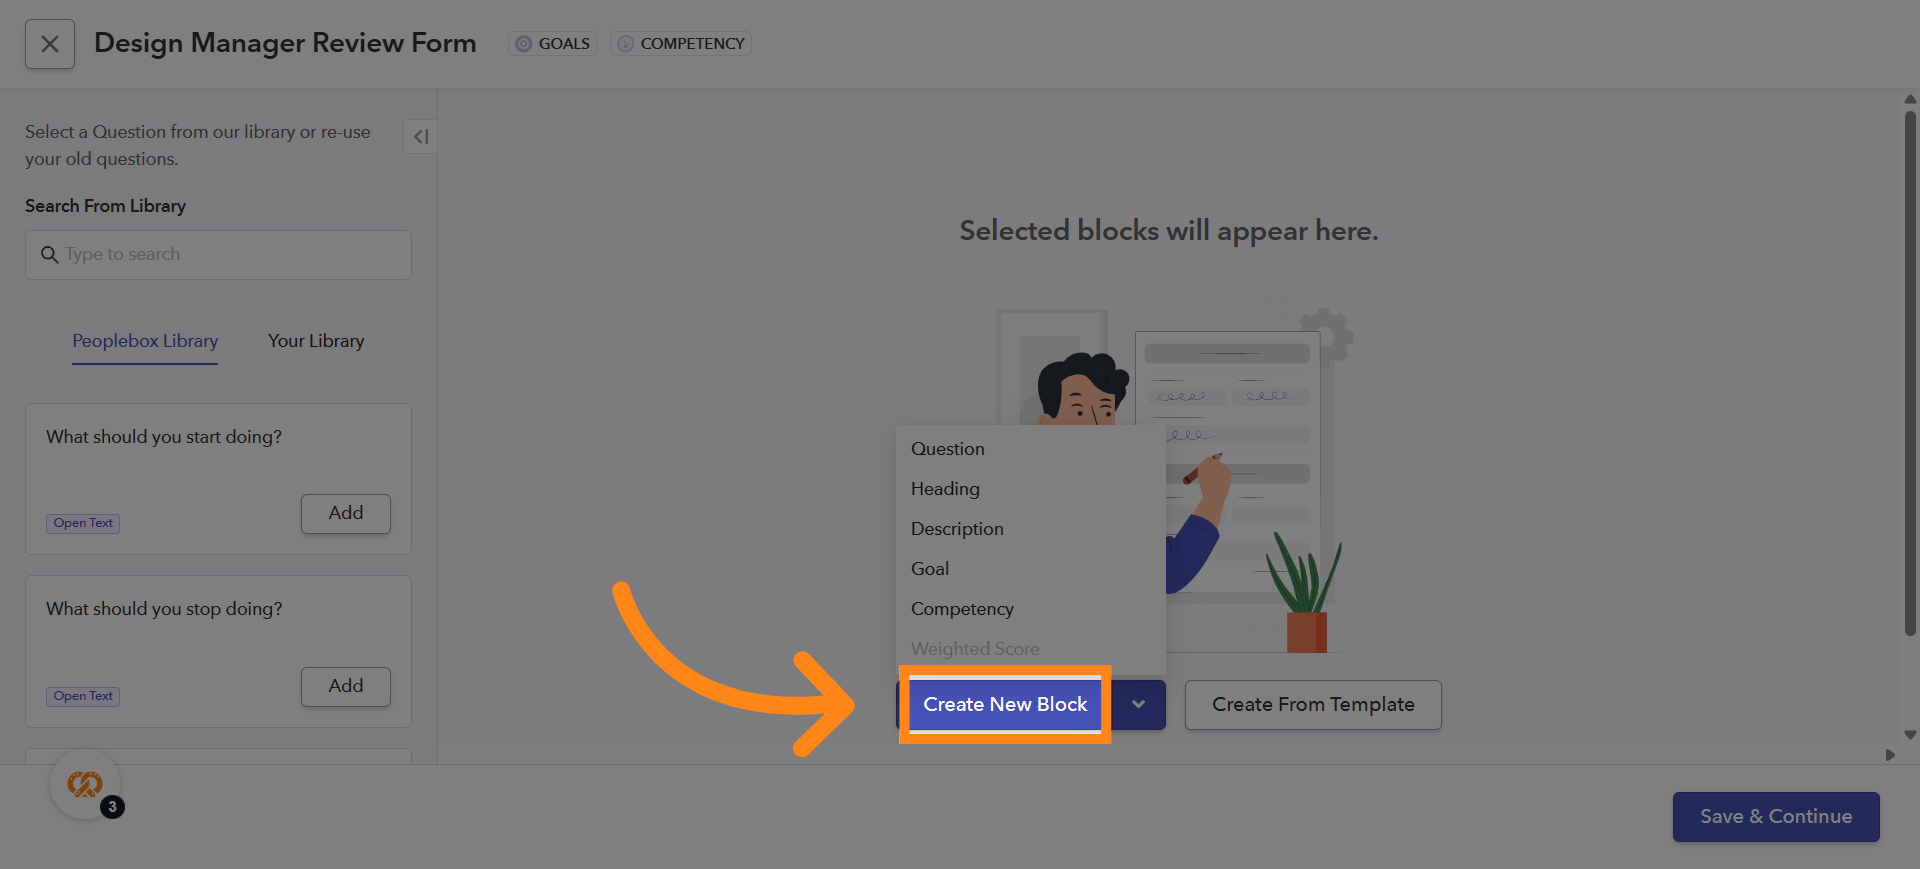
3. Choose Any Block
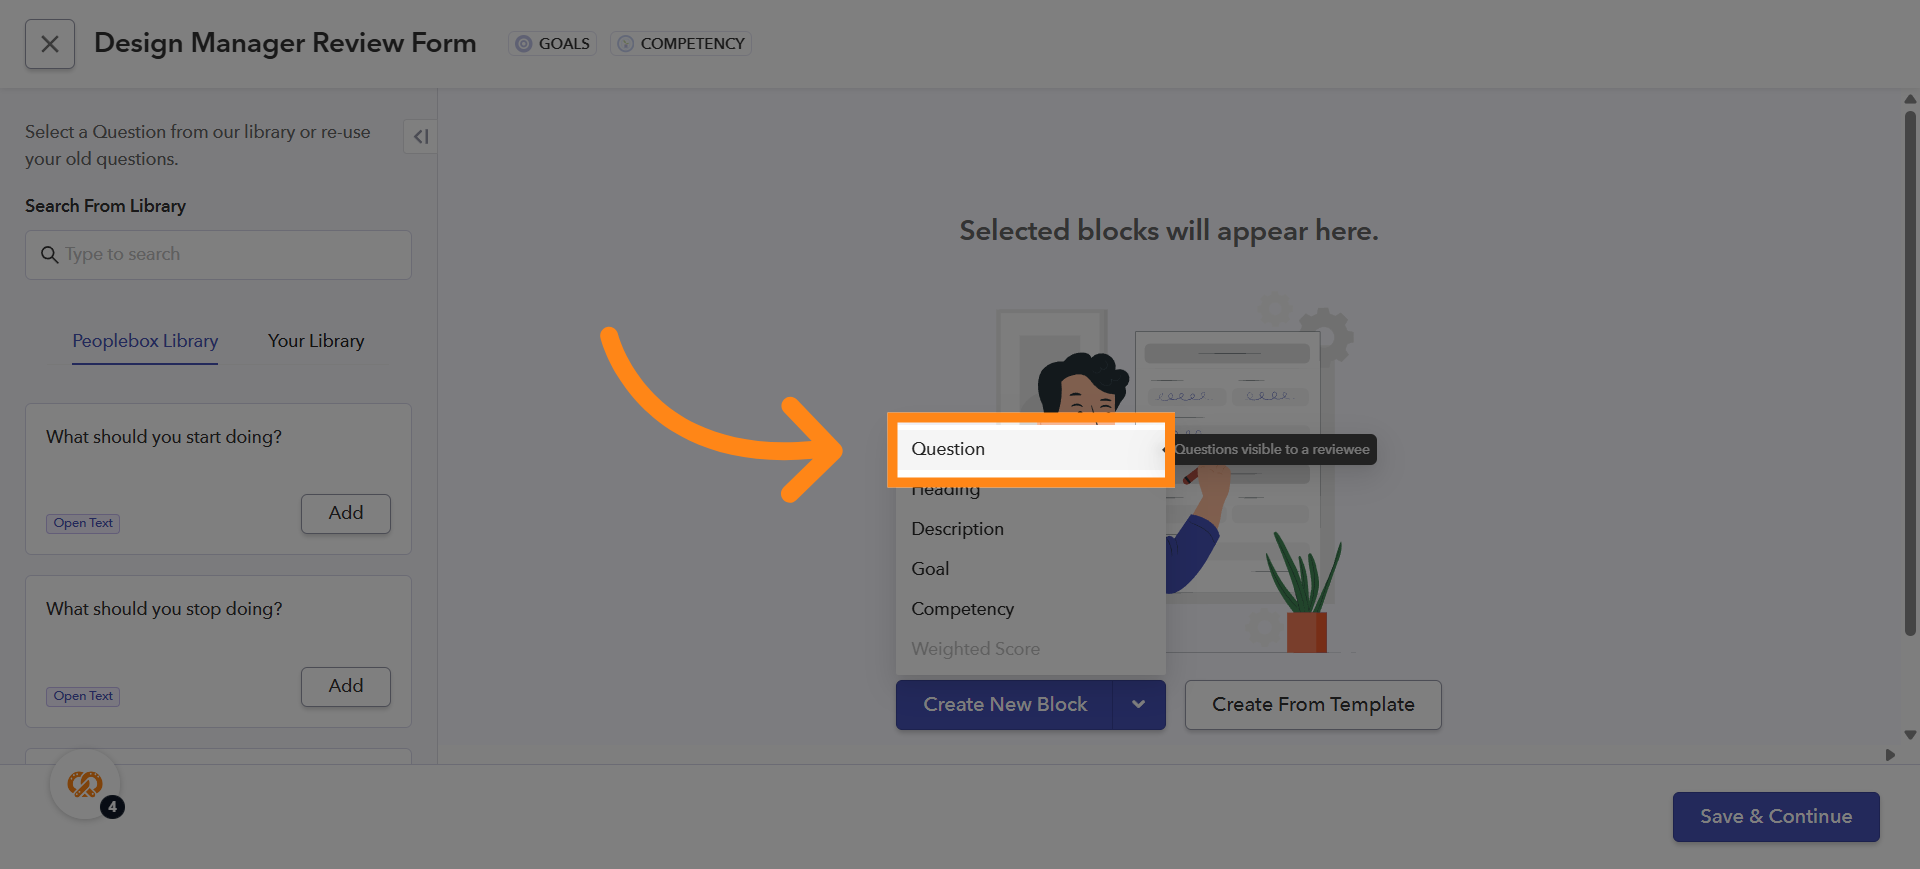
After clicking on the Create from Scratch option, an empty form will open in the manager summary. When you hover over the Create New Block button, you will see a list of available blocks. Choose any block from the list
4. Add Question Block
Click on the Question Block to start adding questions to your form
5. Adding and Customizing Your Questions
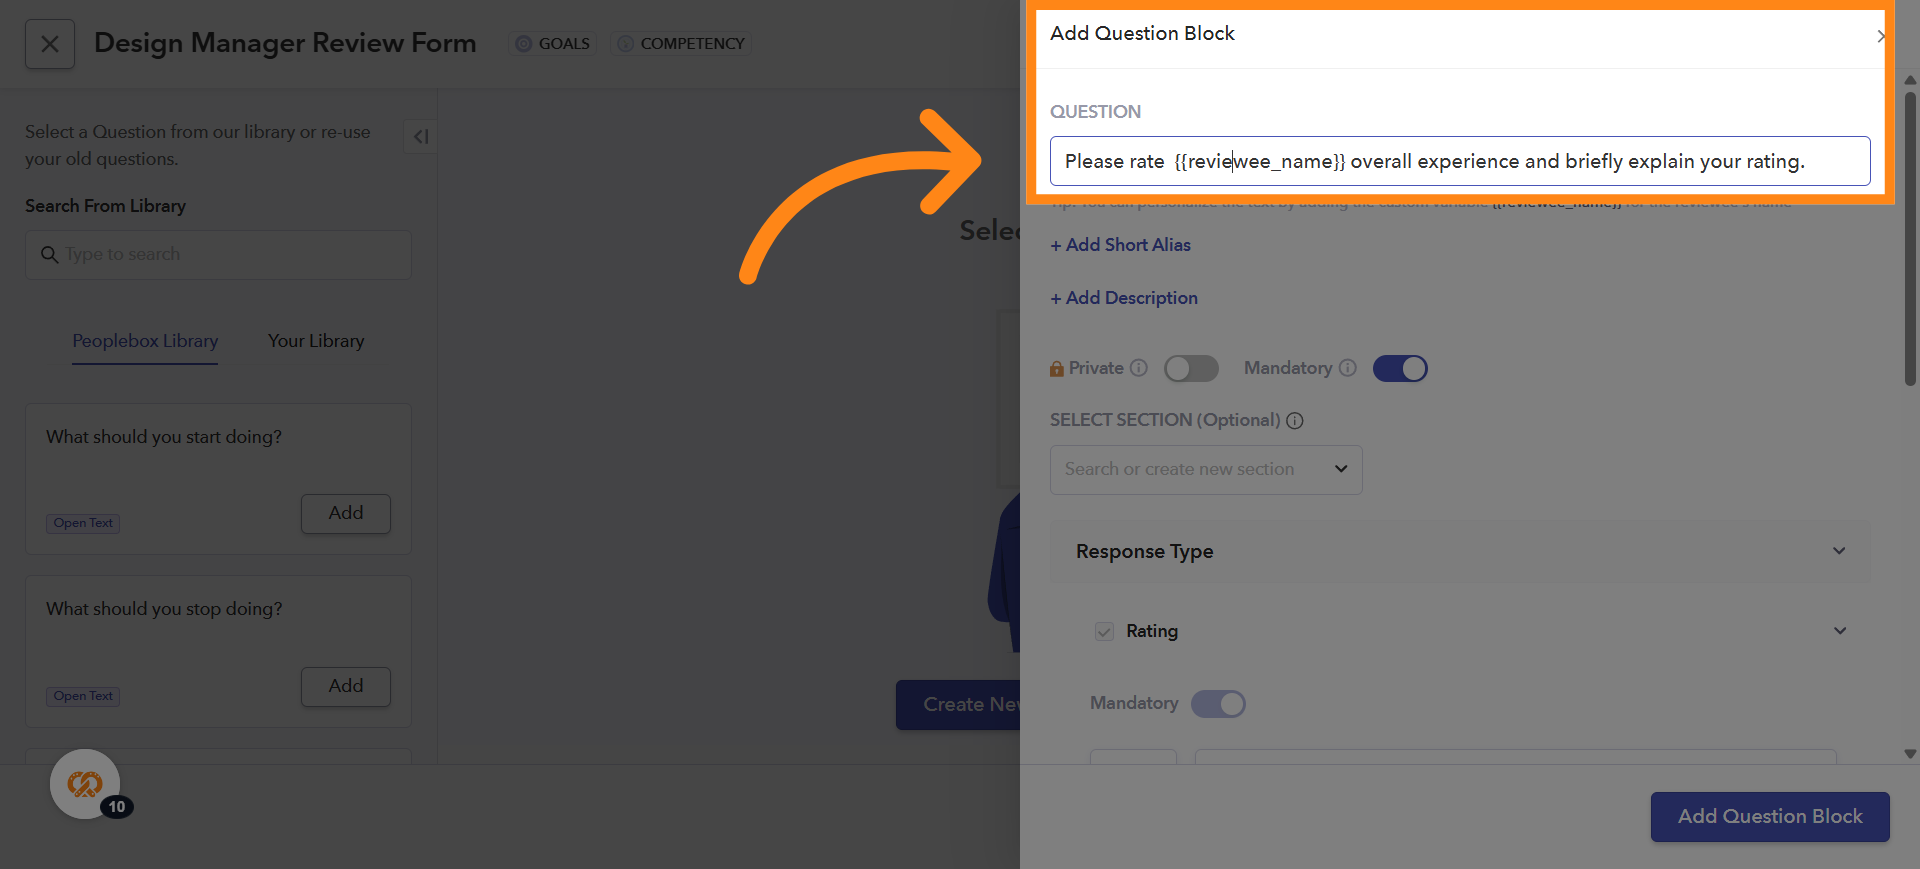
Click the QUESTION field to enter the question you want to include in the form. You can personalize the text by adding the custom variable {{reviewee_name}}, which will automatically display the reviewee’s name while writing reviews
6. Adding Question Descriptions and Alias
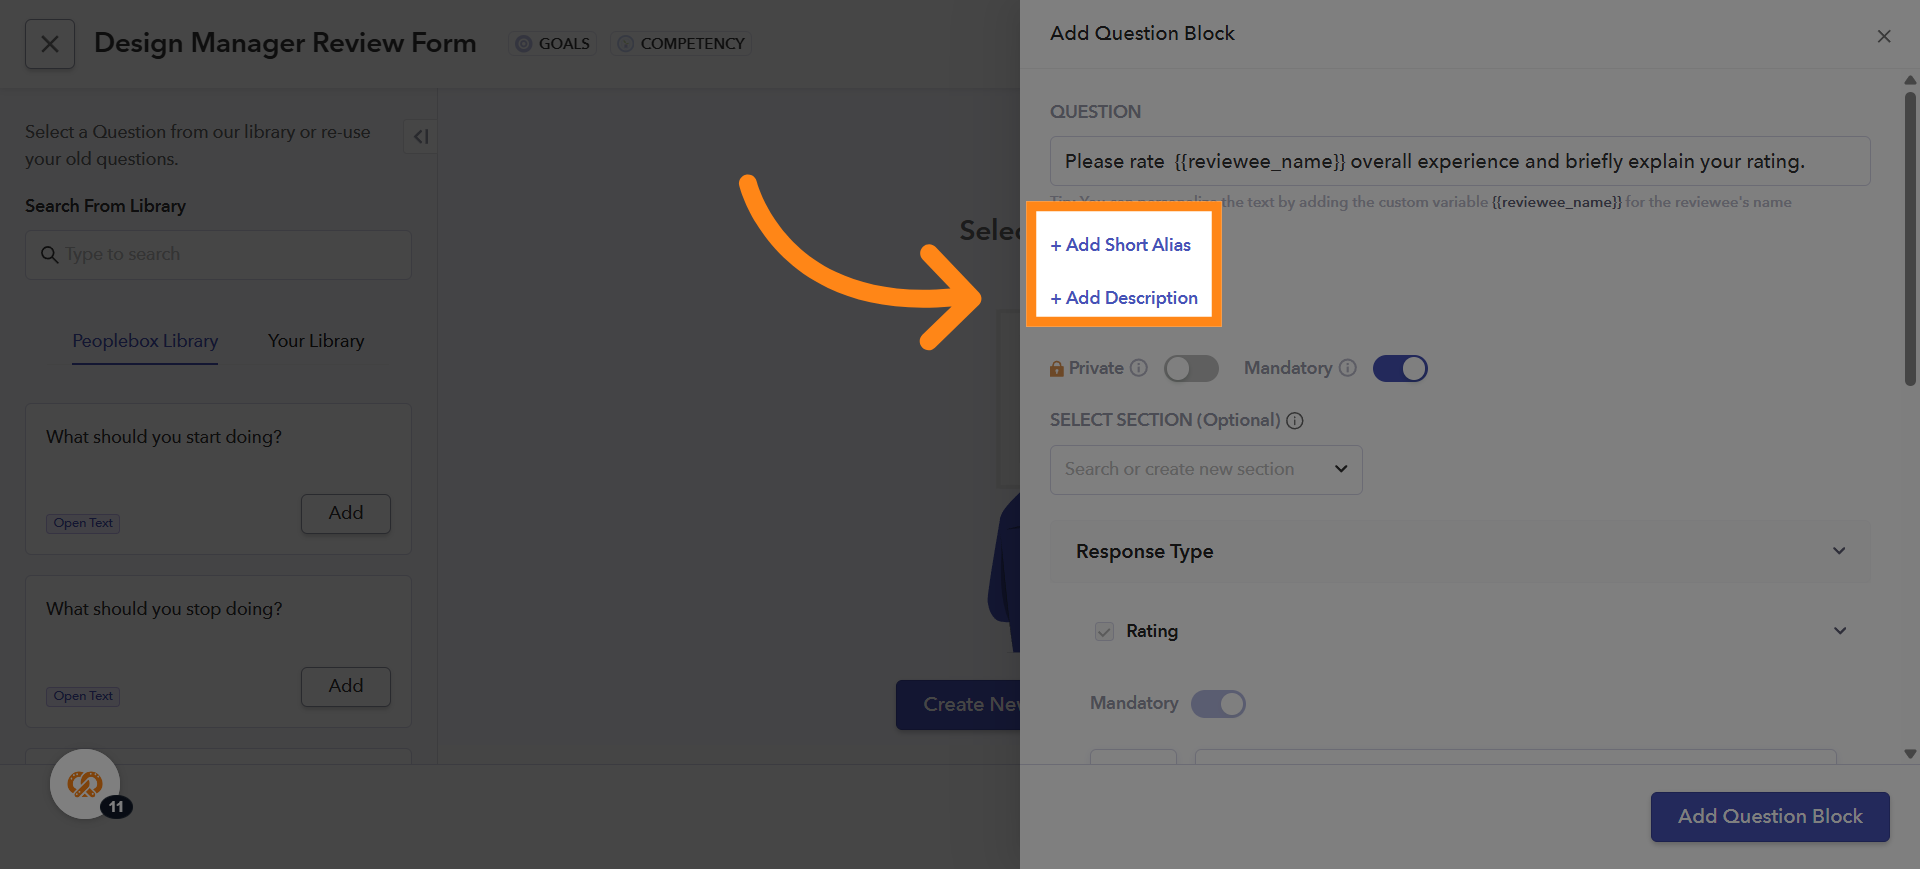
Click Add Description to provide additional context or instructions for the question. You can also add a short alias for the question, which is used in table headings during Calibration for better readability
7. Marking Questions as Private
You can mark a question as Private when you want the reviewee to answer the question, but the responses should not be visible to the reviewee when the review is shared with them. To enable this, you need to turn on the toggle button. Use this option whenever you need the feedback to remain confidential. Private question responses will be visible only to admins

8. Marking Question as Mandatory
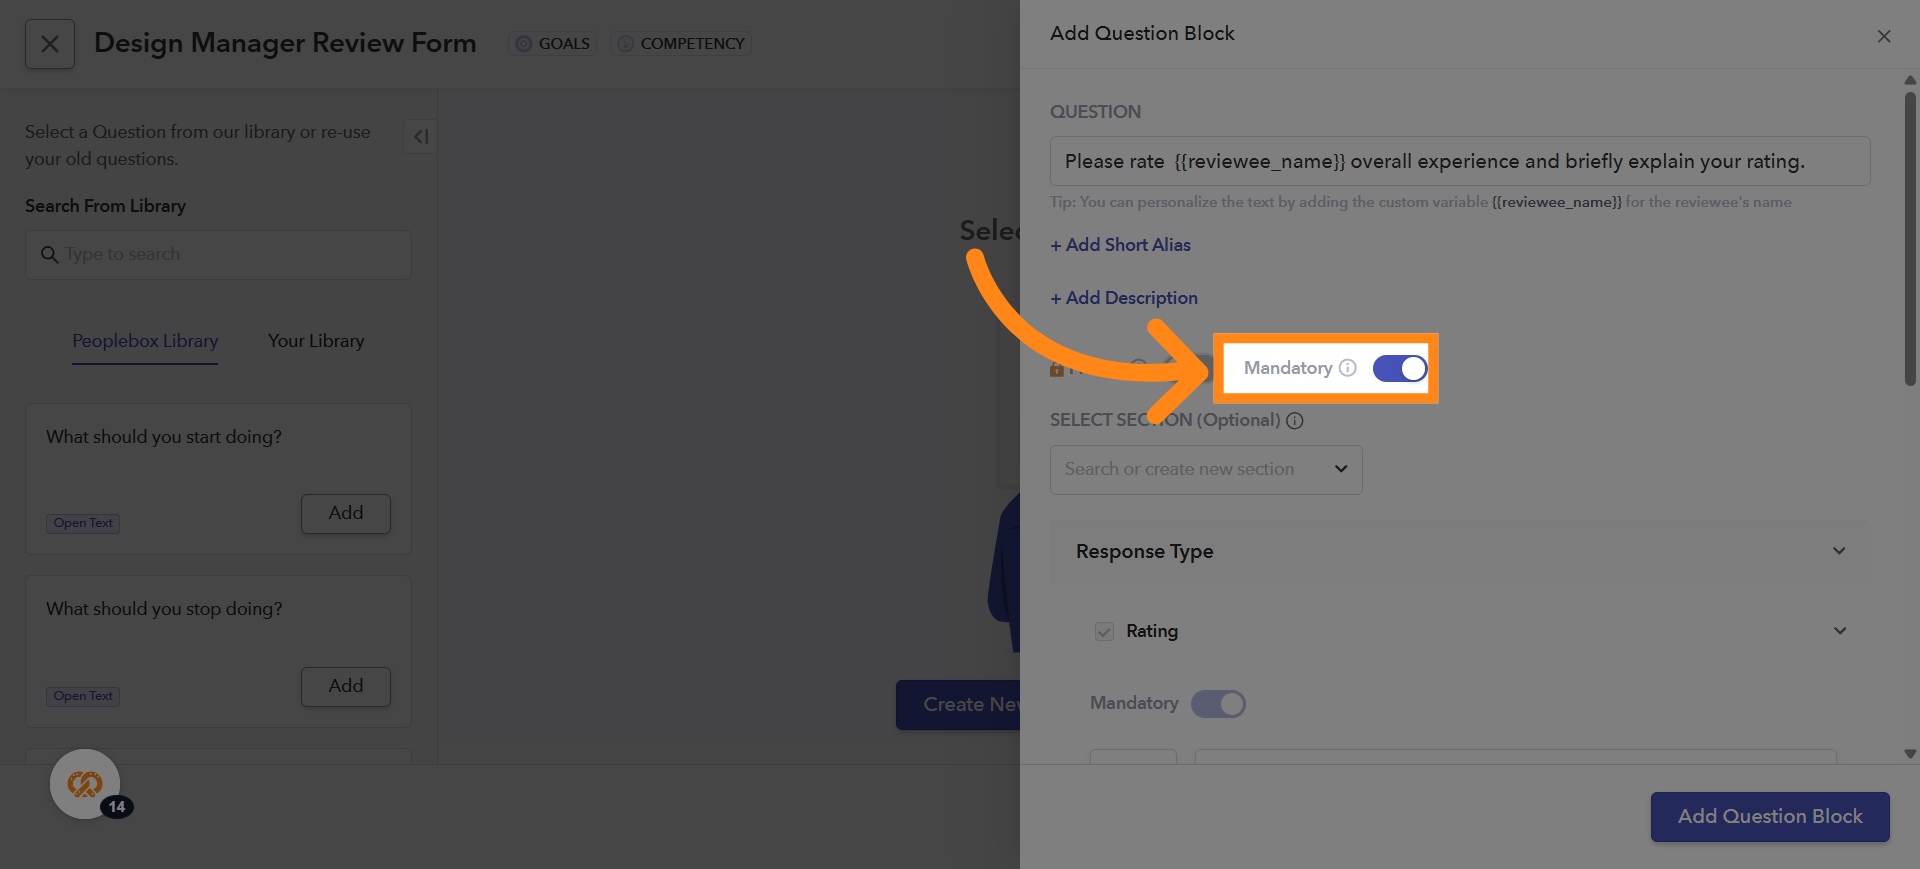
If you want the question to be mandatory, turn on the toggle button. If you do not want the question to be mandatory, turn off the toggle button. When this option is enabled, the question must be answered in order to submit the form while writing the review
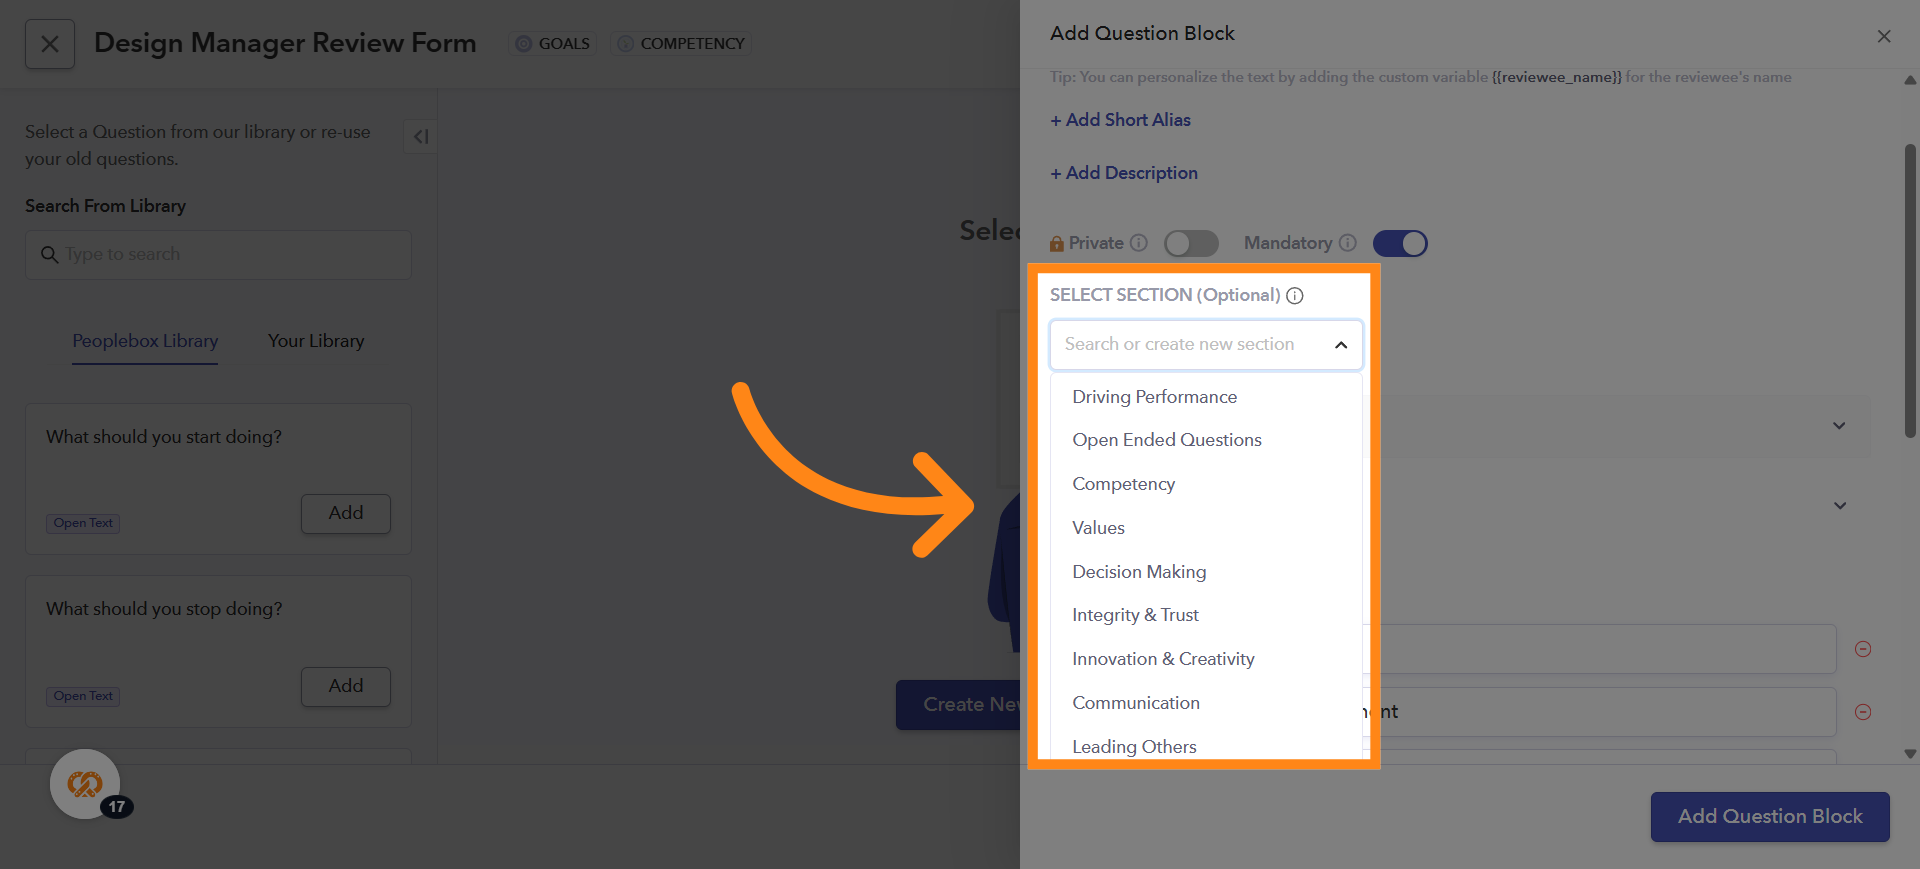
9. Assigning Section to a Question
If you want a question to fall under a specific section, click the dropdown arrow under Select Section. A list of available sections will be displayed. Select the appropriate section for your question. Sections represent the themes or categories on which the questions are based
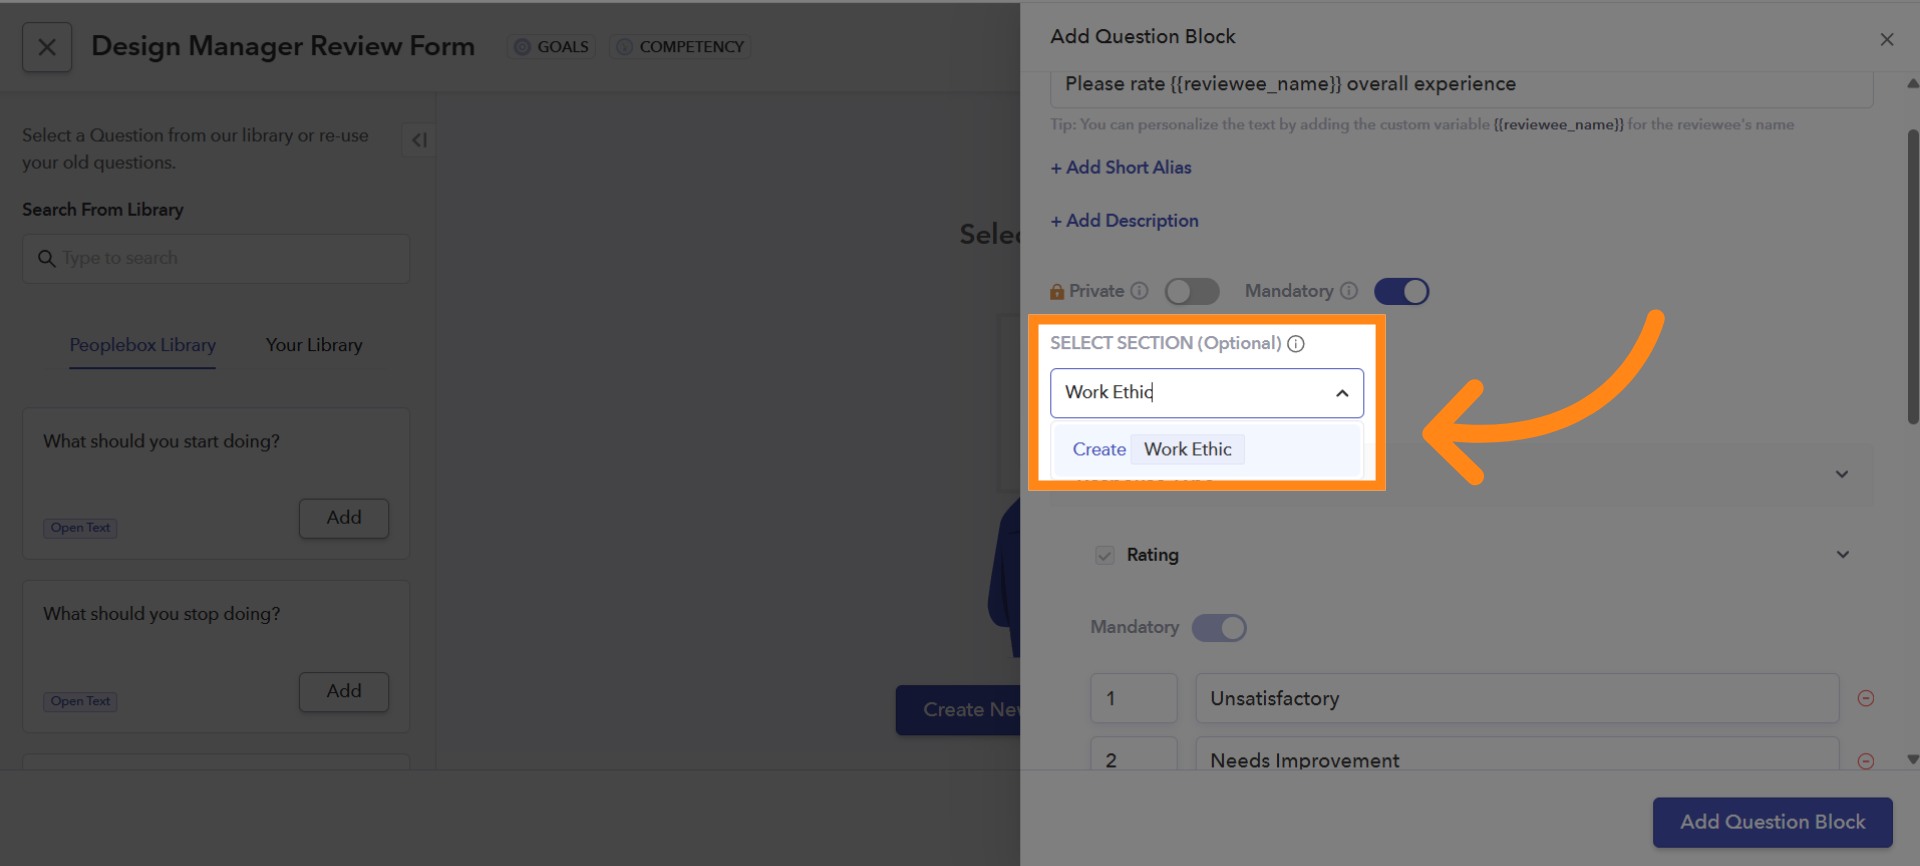
10. Create a Custom Section
If you want to add a section of your own, you can do so by typing the section name you want to create. Then, click on the text box under the Select Section field. A dropdown will appear that shows create option with the section name that you have typed in select section field. Select the Create option from the dropdown to create your custom section
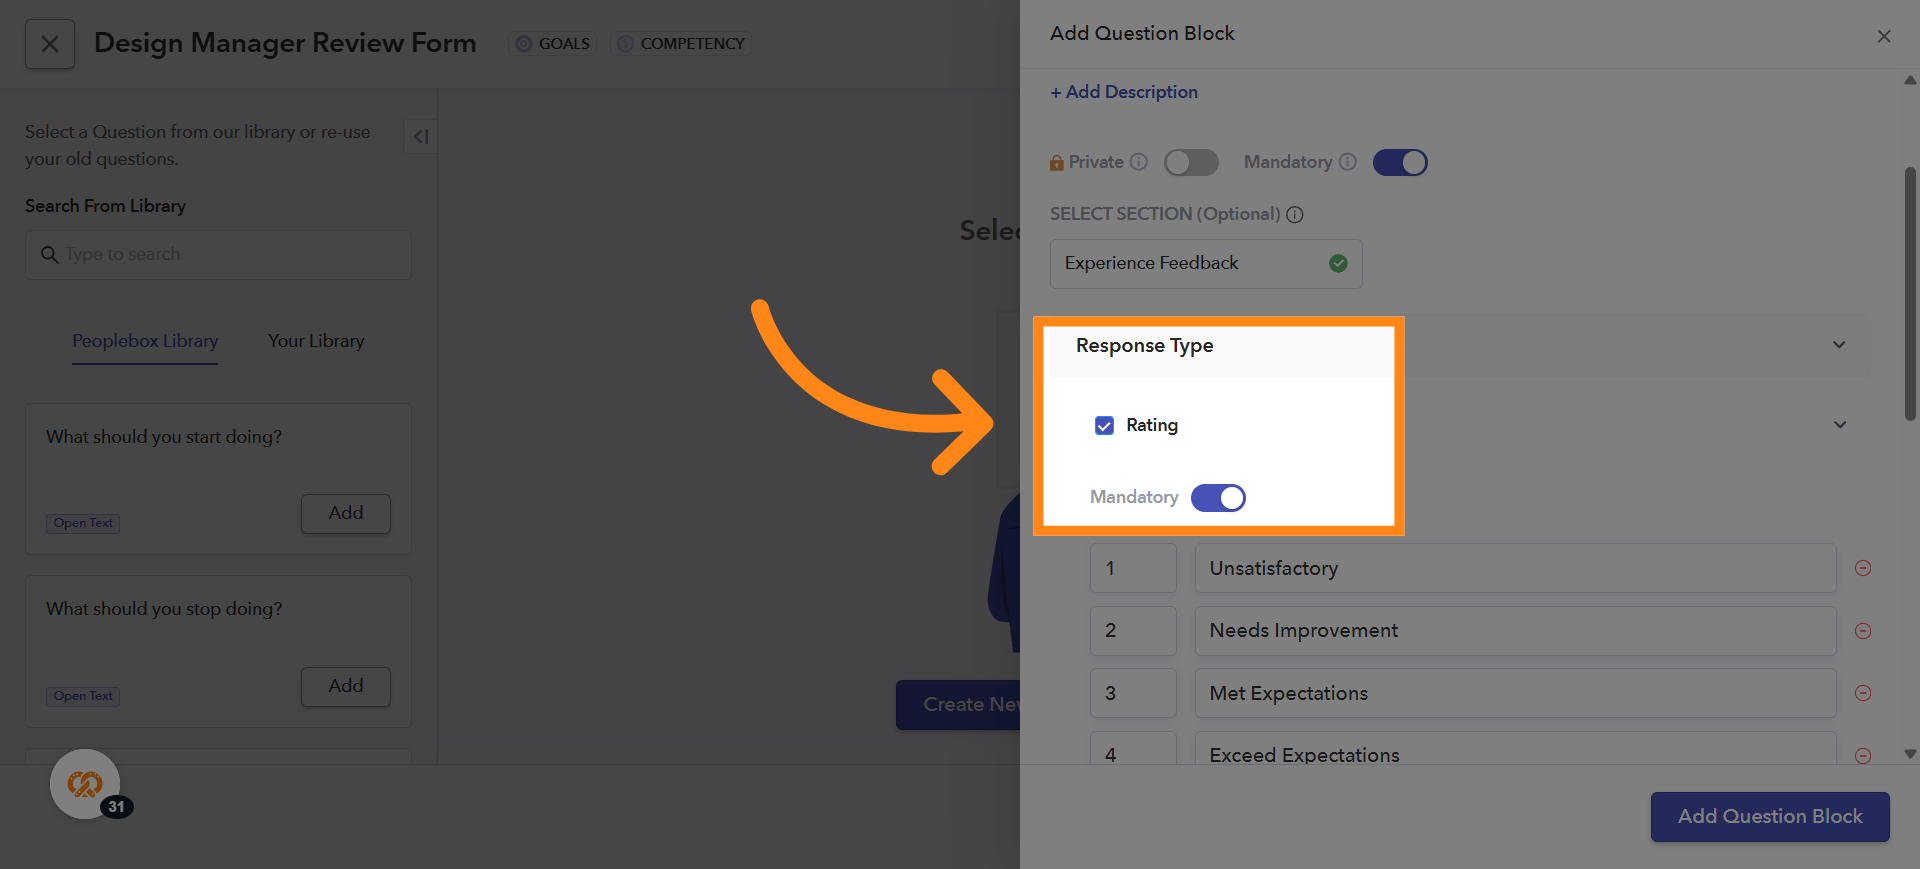
11. Choosing the Response Type for a Question
You can select how the question should be answered: it can be either a Rating-Based Question or an Open-Text Question. You can also enable both options for a question if you want respondents to provide a rating as well as written feedback
Please Note: If a question is only rating-based, the rating cannot be marked as optional, because the question is mandatory. If a question has both rating and open-text options, only one of them can be made optional
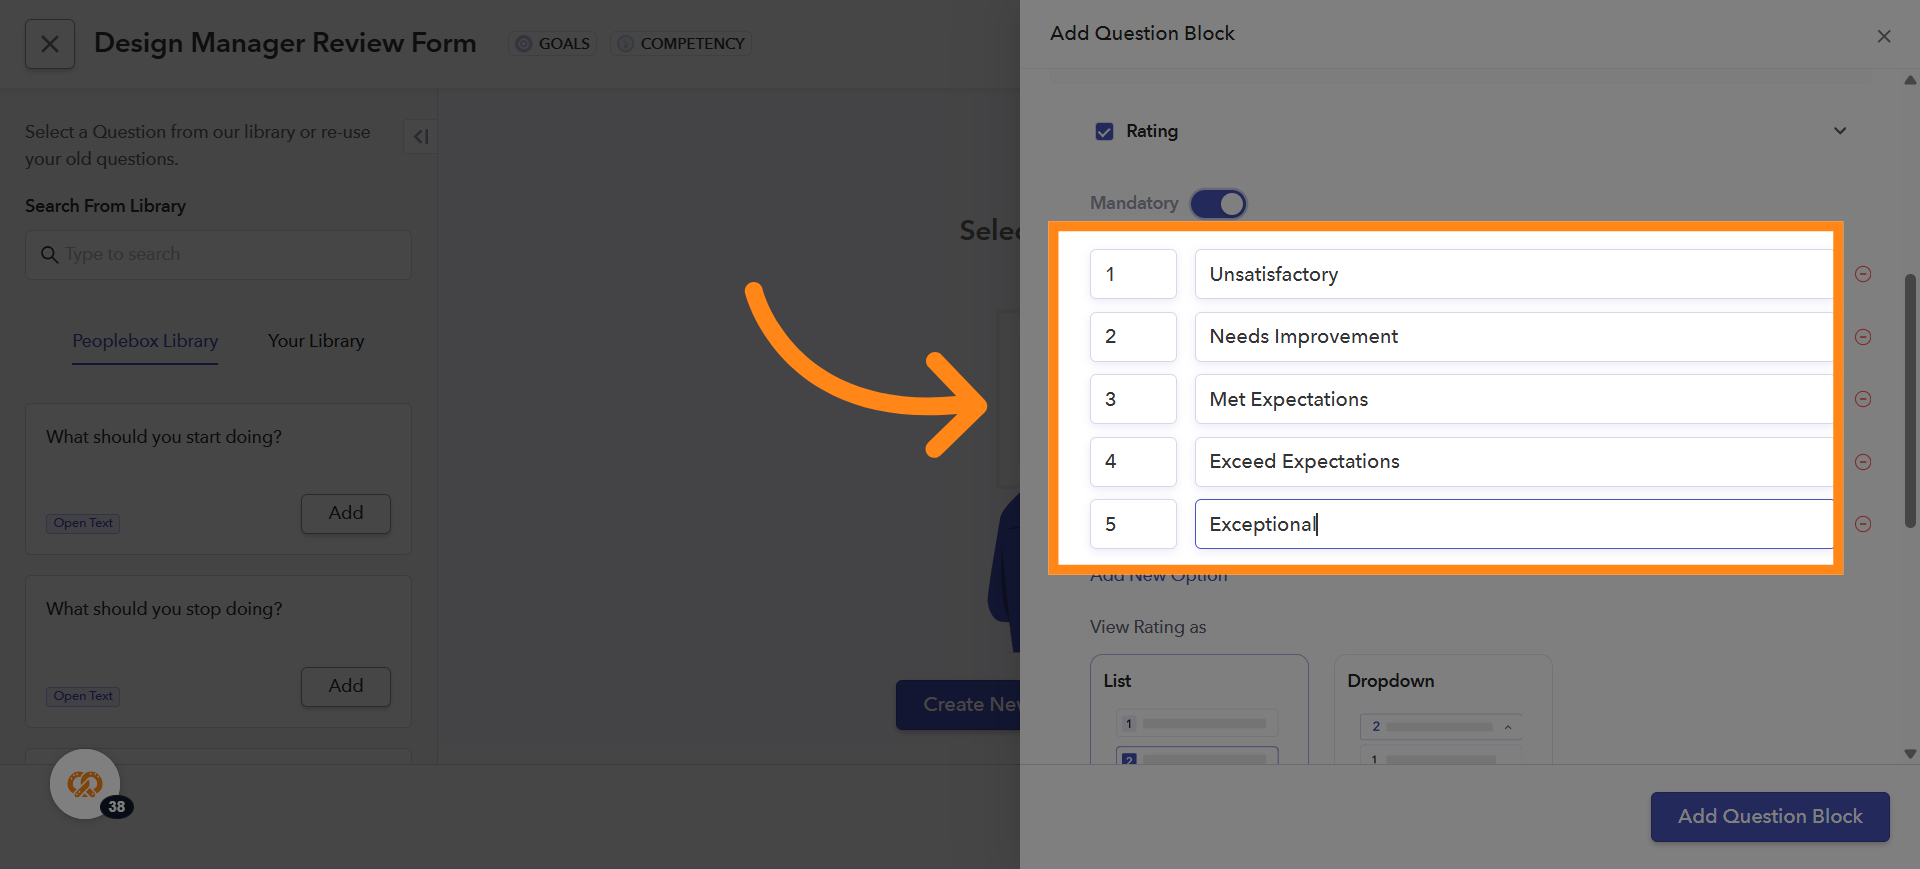
12. Modifying Legends and Ratings
You can modify the legends and ratings as per your preference
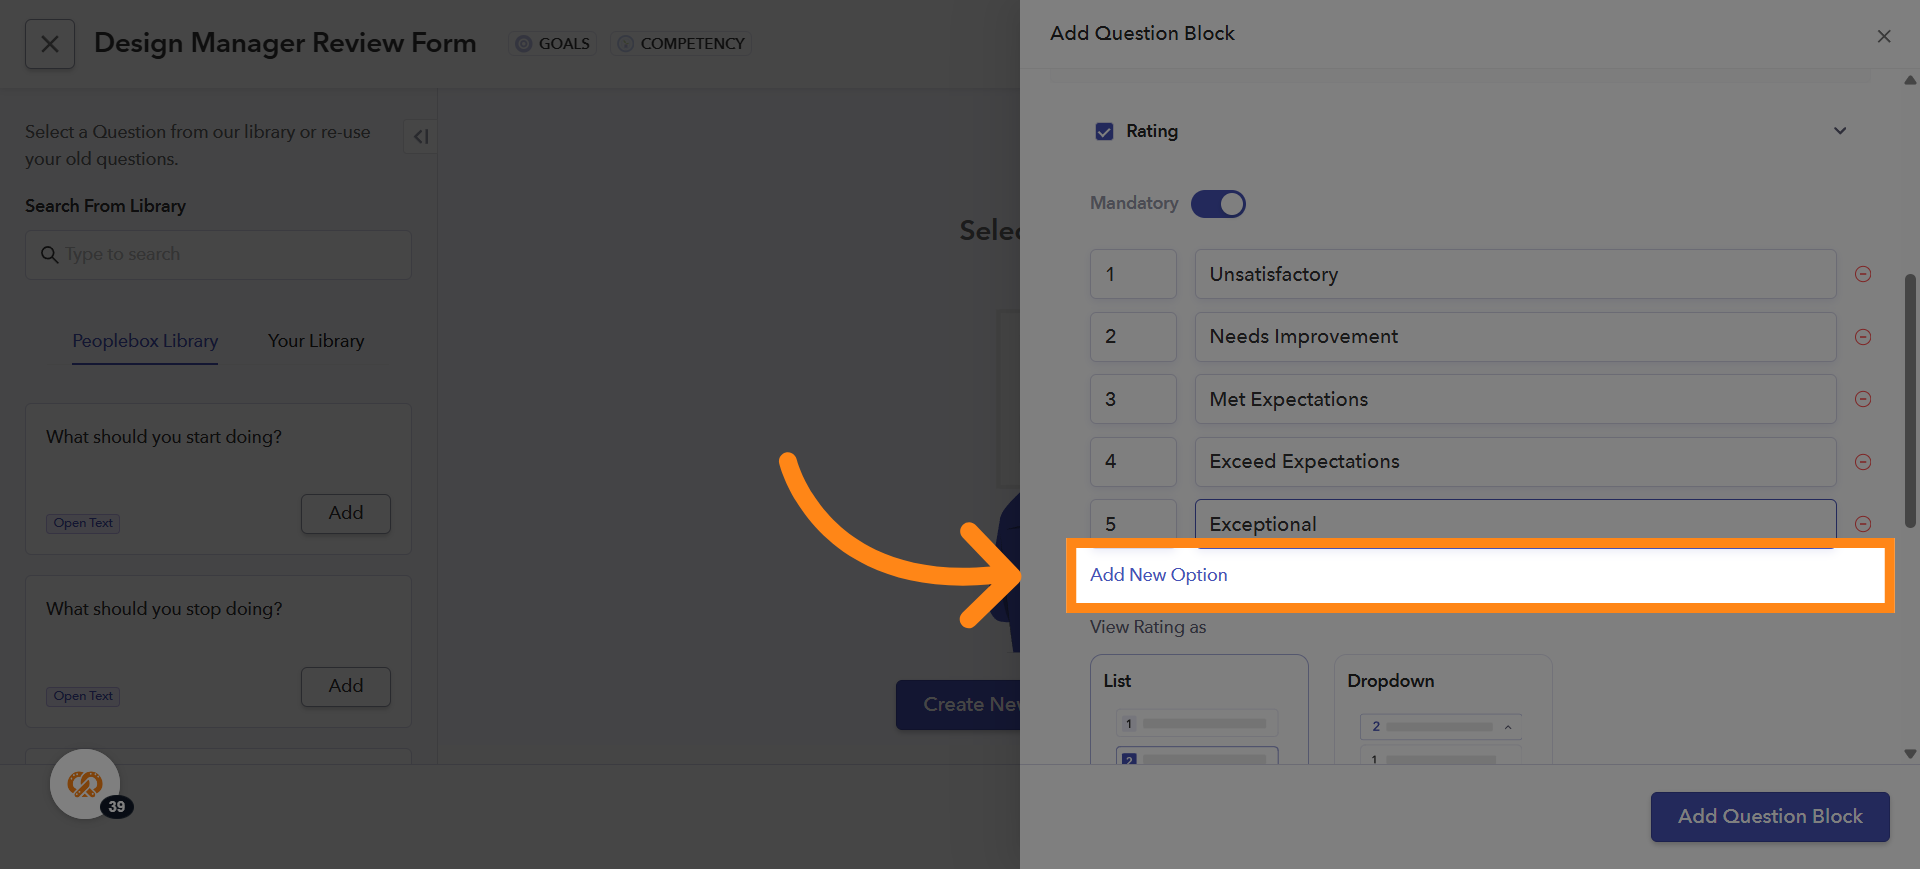
13. Adding New Ratings and Legends
You can also add new ratings and legends if needed by clicking on the Add New option
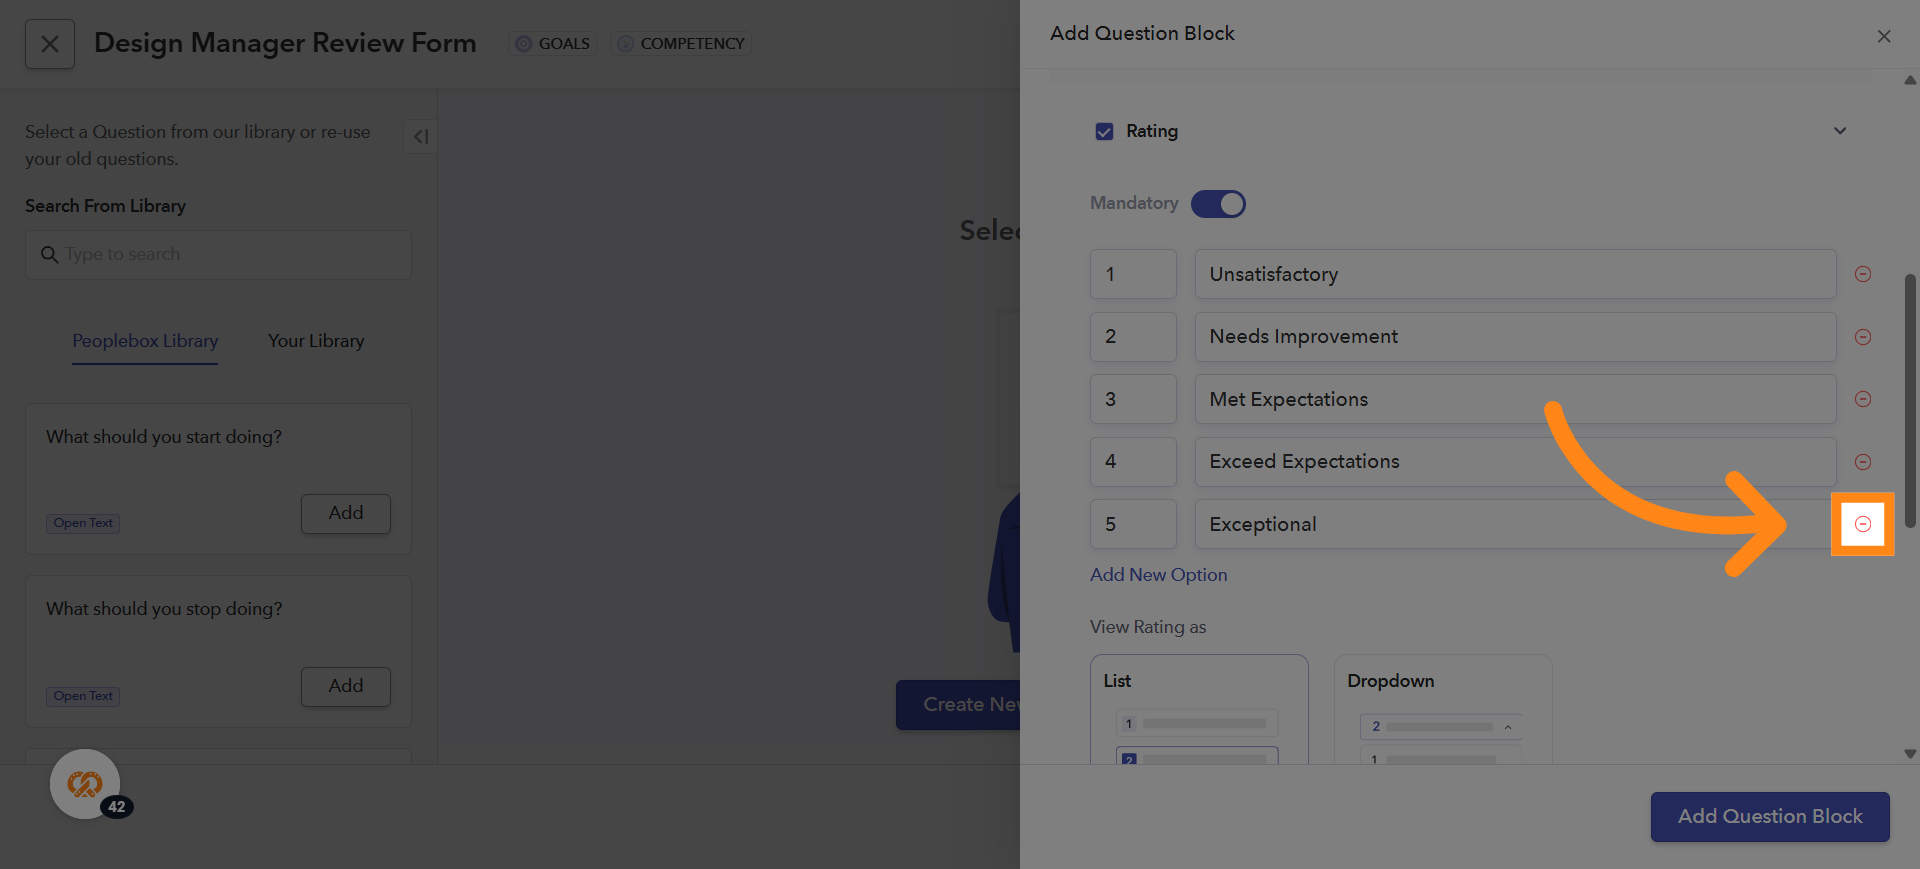
14. Removing Unwanted Ratings or Legends
If you don’t want certain ratings or legends to appear for example, if you only want 4-star ratings in your question you can remove the unwanted options by clicking the minus (-) icon next to the legend. This will delete the rating and legend you no longer need
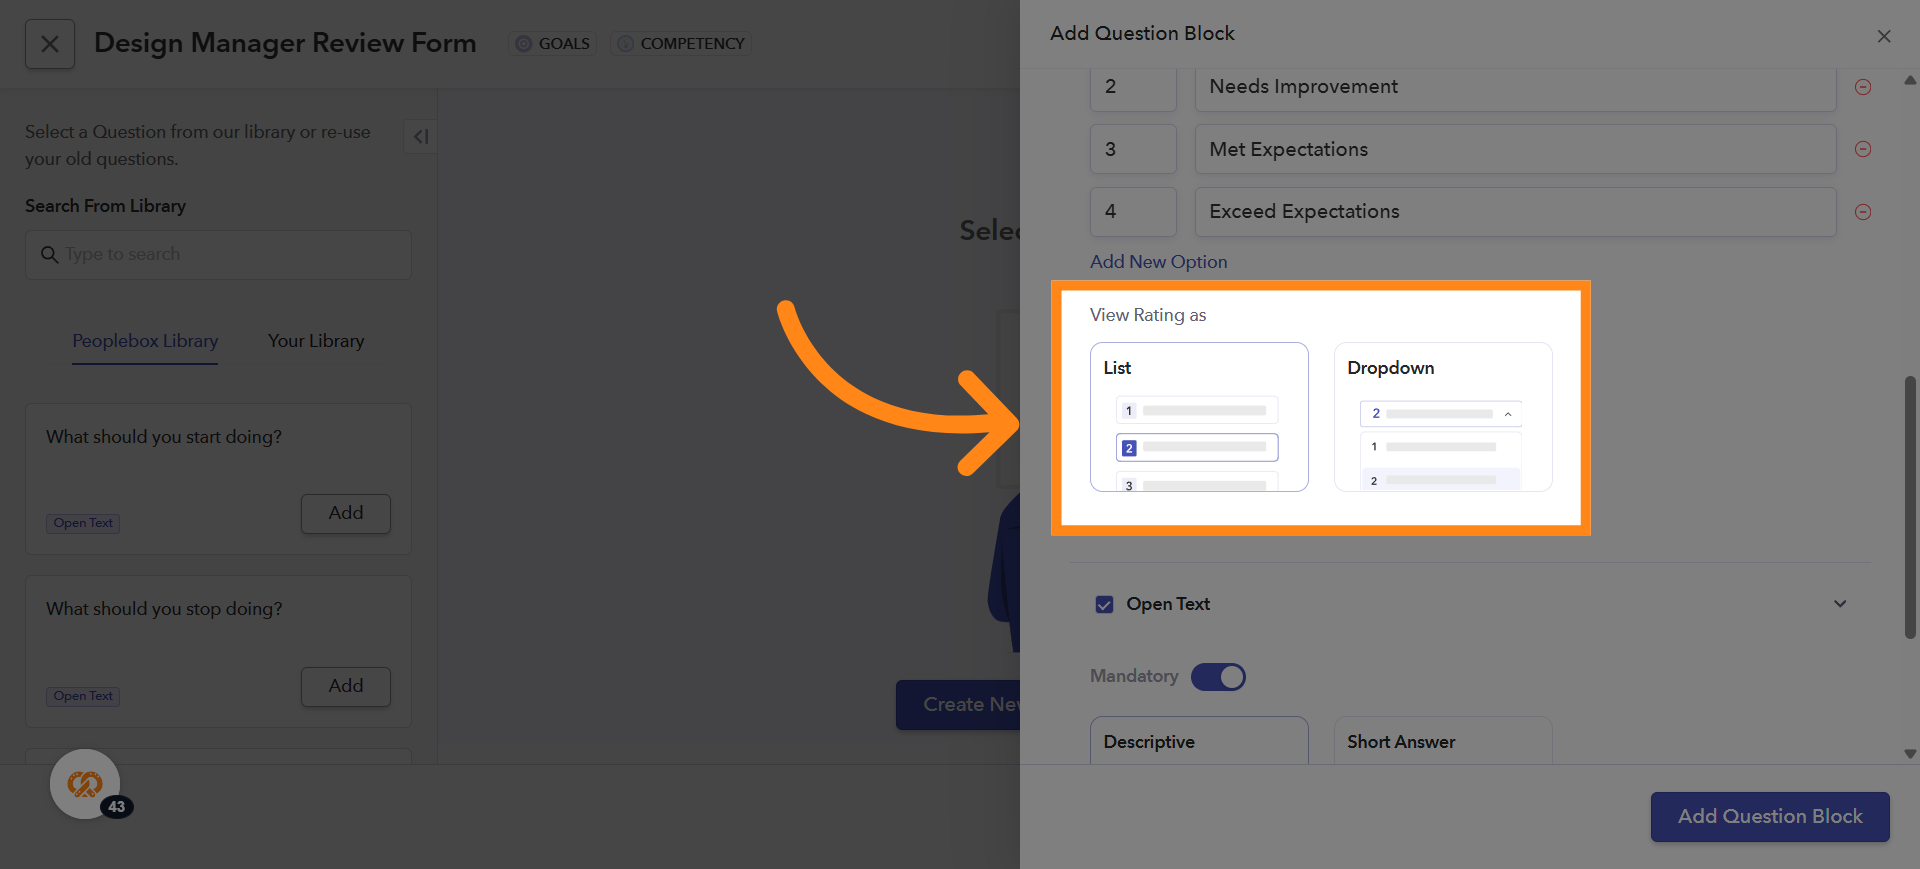
15. Selecting the Display Style for Rating-Based Questions
You can choose how a rating-based question should appear while writing reviews: List View – displays all rating options one by one. Dropdown View – allows reviewers to select a rating from a dropdown menu
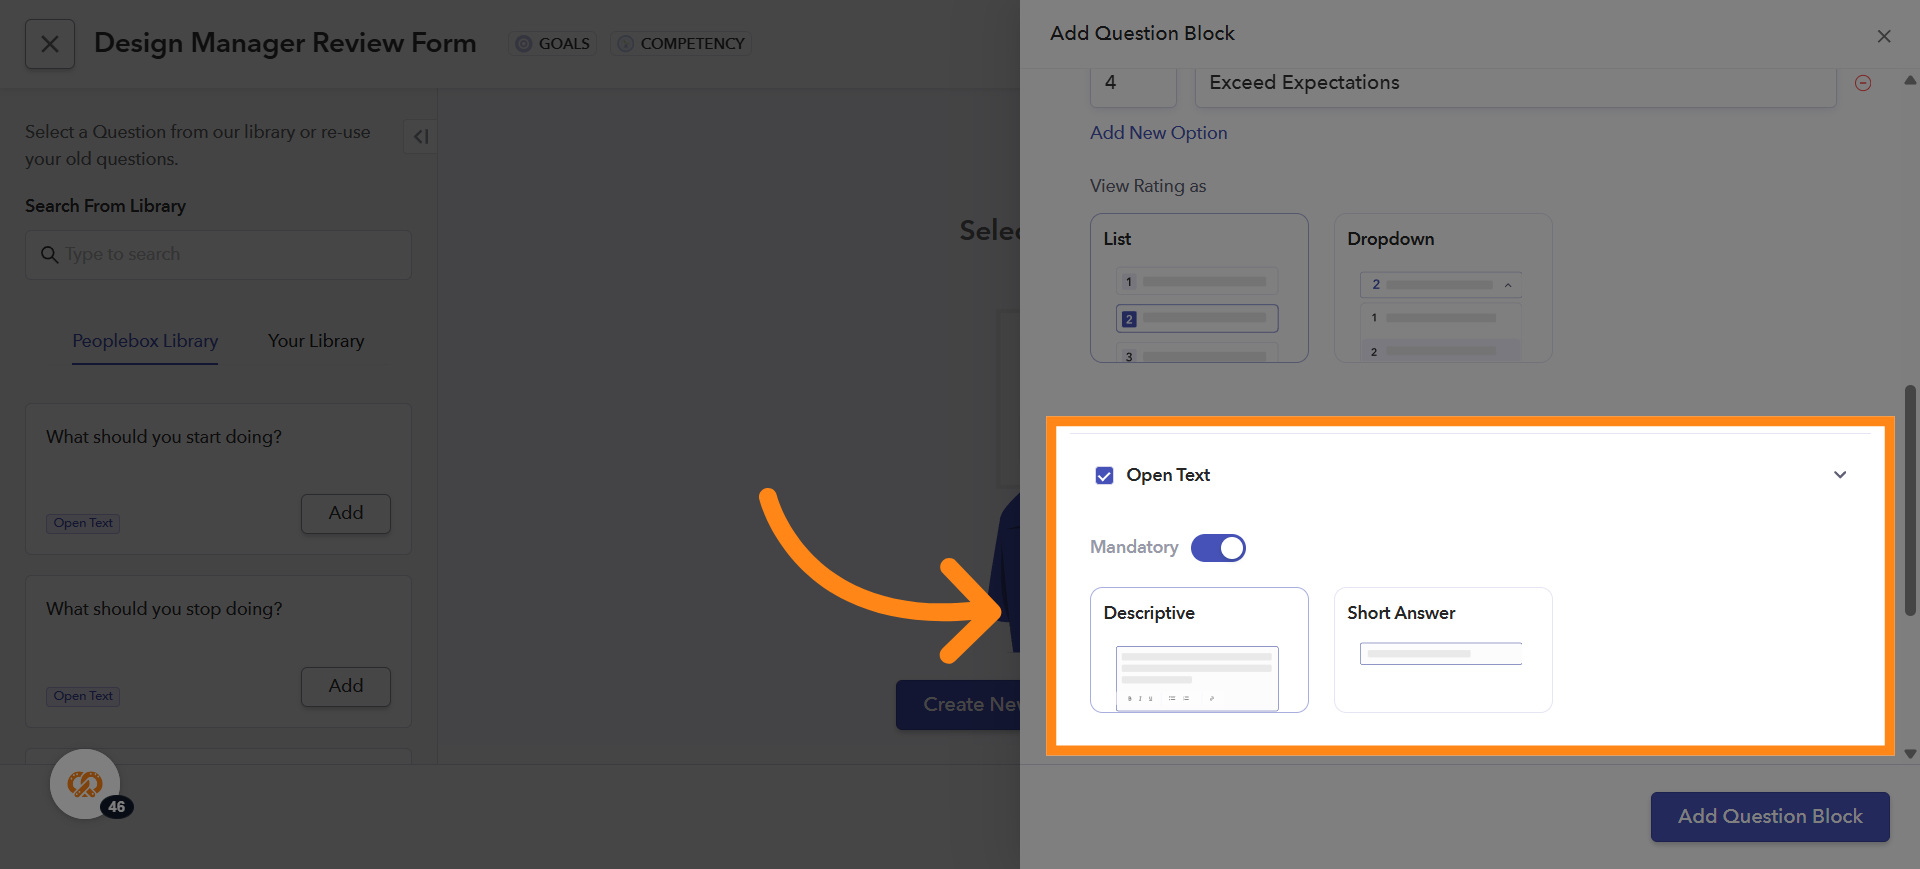
16. Configuring Open-Text Questions
To display an open-text field under a question, tick the checkbox next to Open Text option. If both rating and open-text options are enabled, note that only one can be marked as optional either the rating or the open-text. You can also select how the open-text field appears during reviews:
Descriptive – Provides a larger text area for detailed feedback
Short Answer – Provides a smaller text box for brief responses
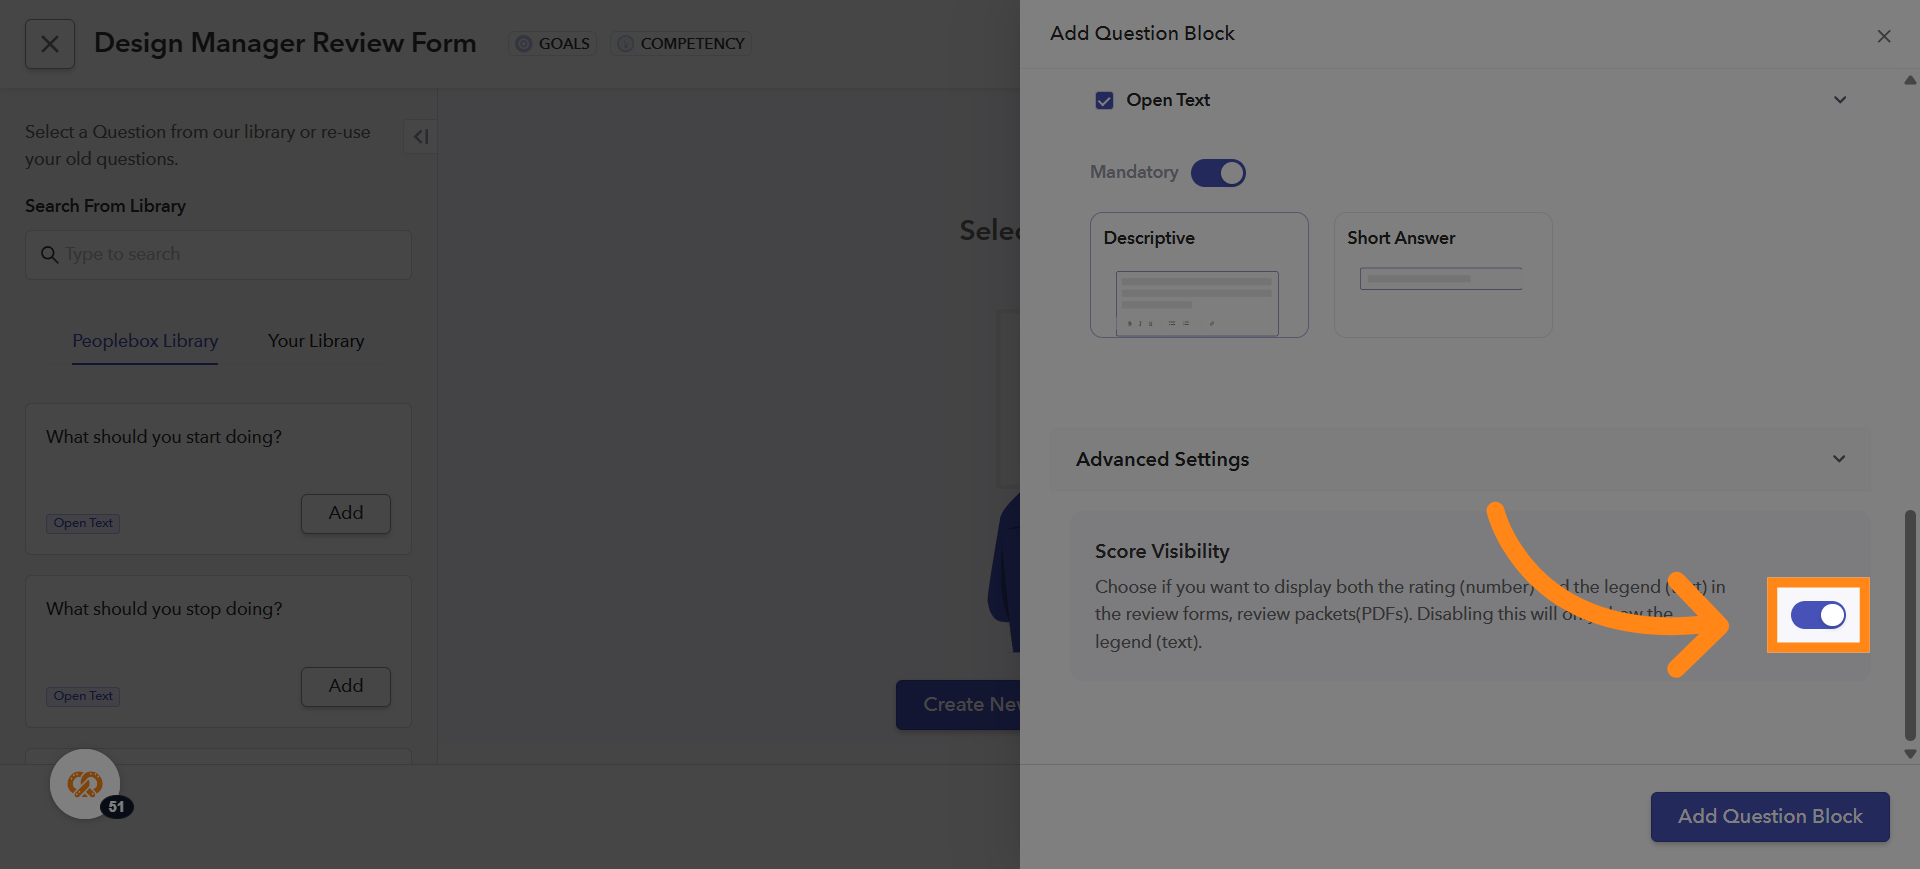
17. Score Visibility
Under Advanced Settings, you can choose whether to display both the rating (number) and the legend (text) in review forms and review packets (PDFs).
Enabled – Shows both the number and the legend (text)
Disabled – Shows only the legend (text)
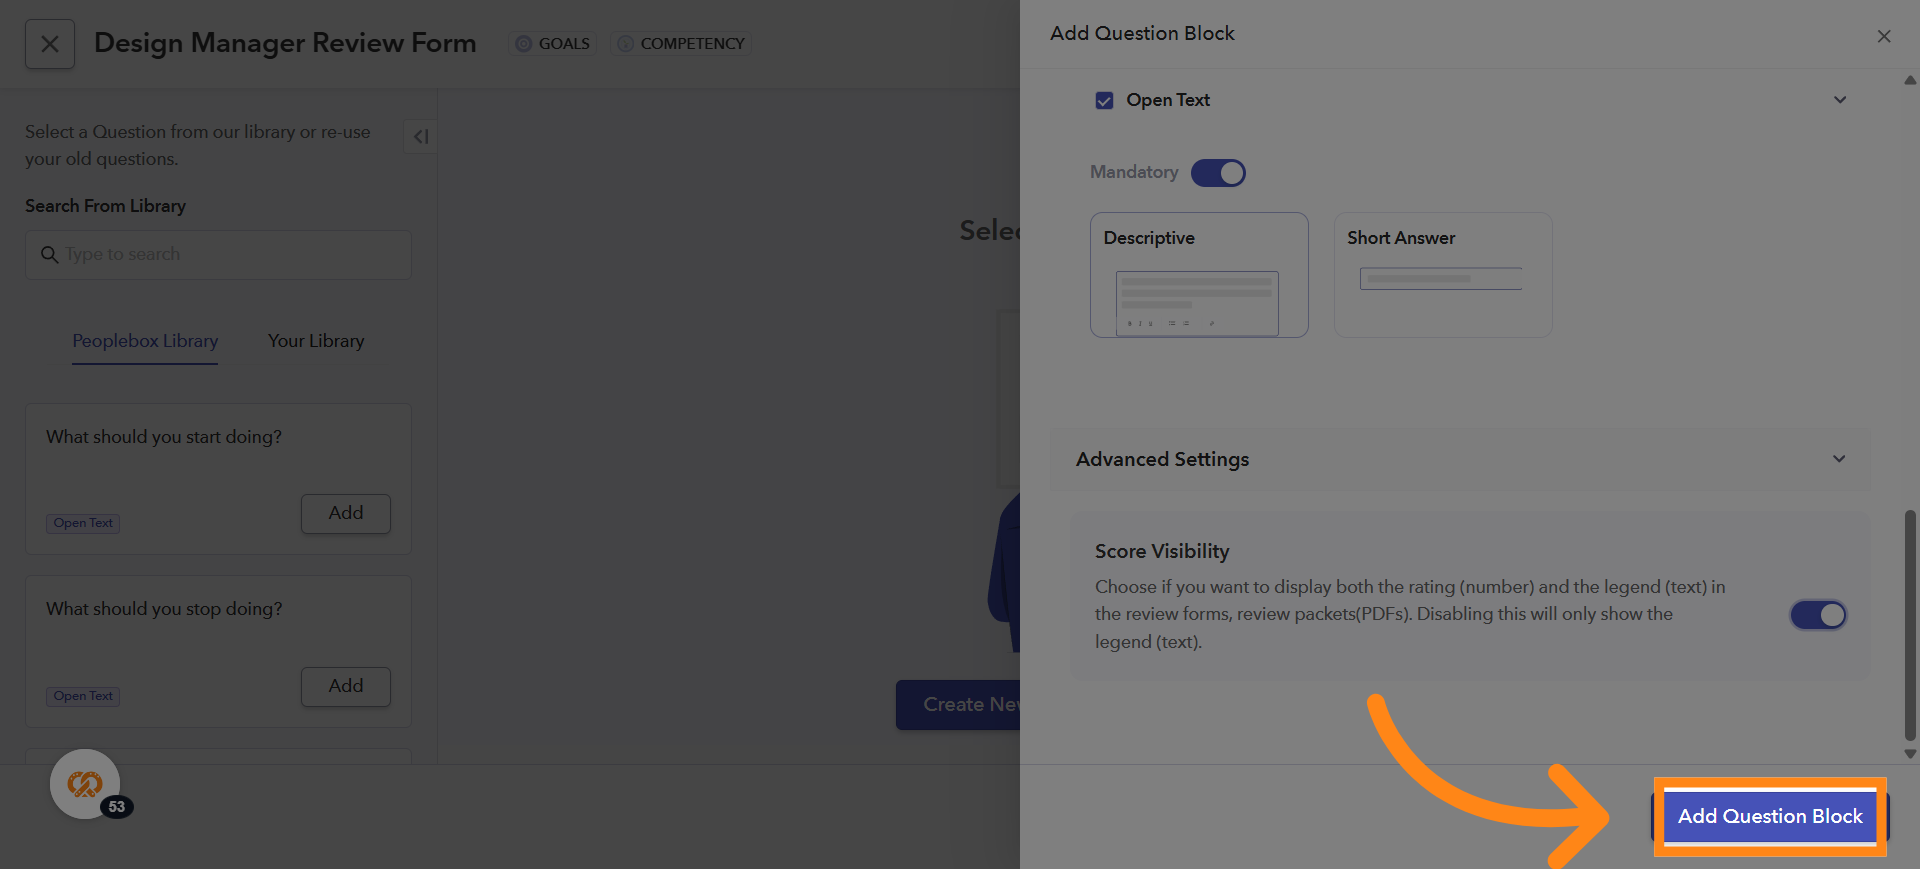
18. Adding a Question to the Form
After adding the question and making the necessary changes, click on Add Question Block to add the question into the form
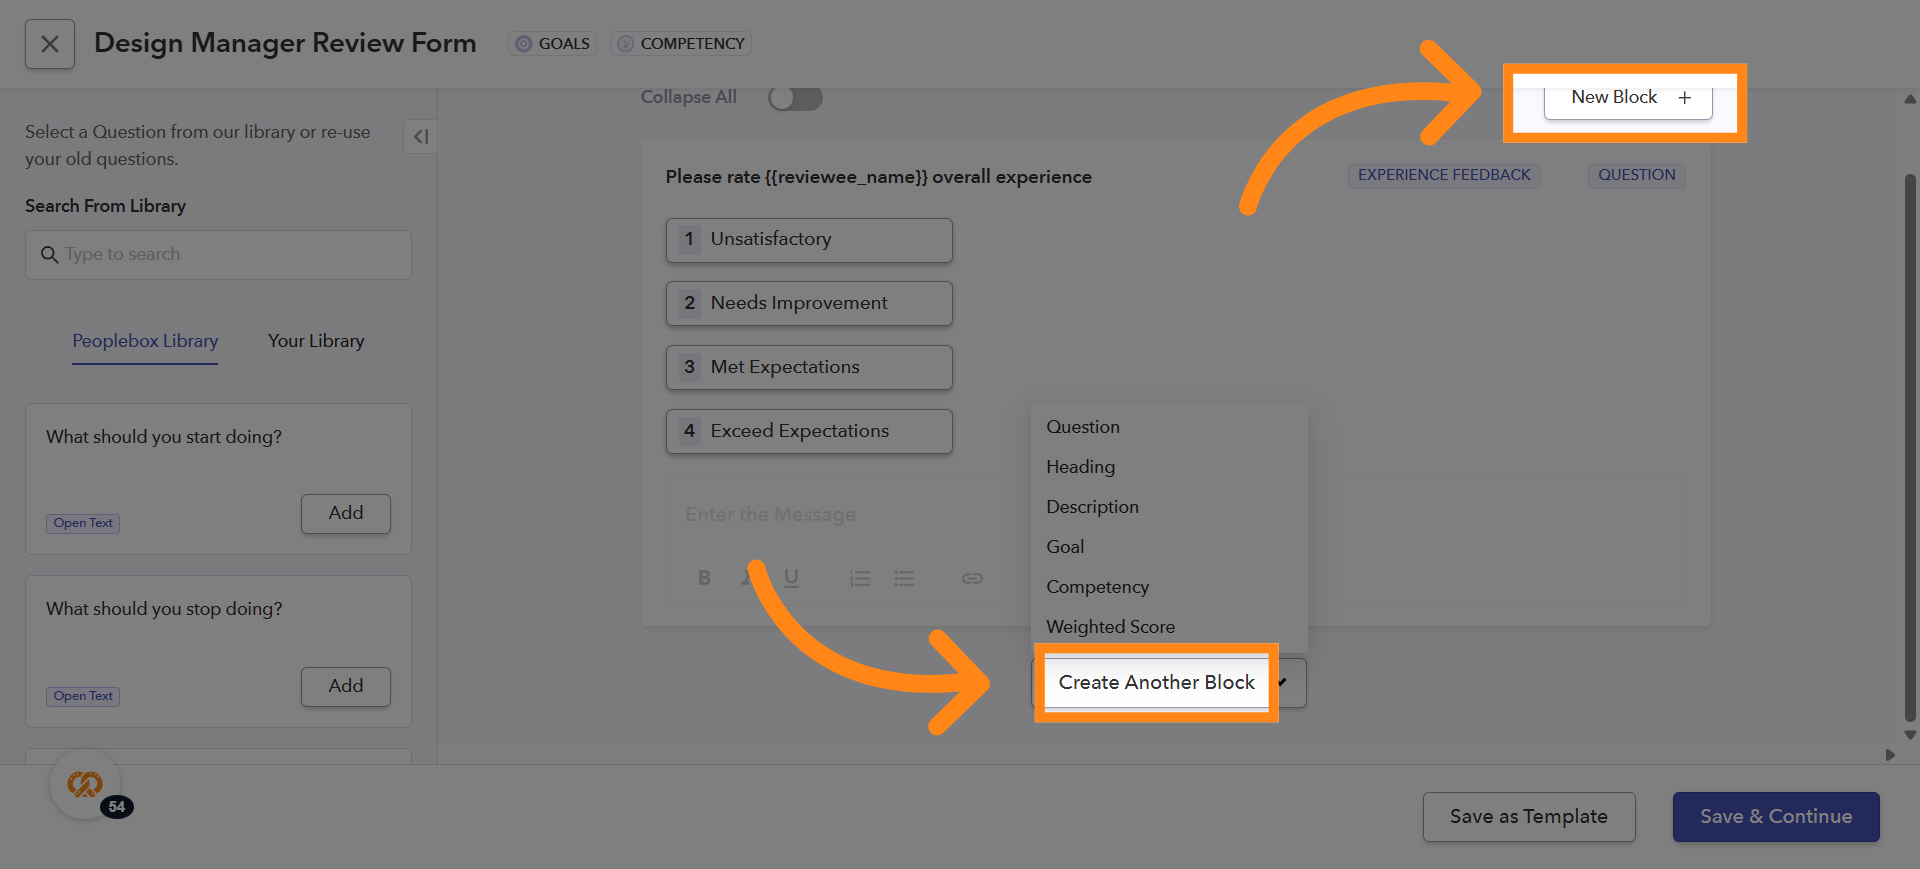
19. Adding a New Block
To add a new block, click Create Another Block or New Block at the top-right corner. You can use this to add another question or any other type of block
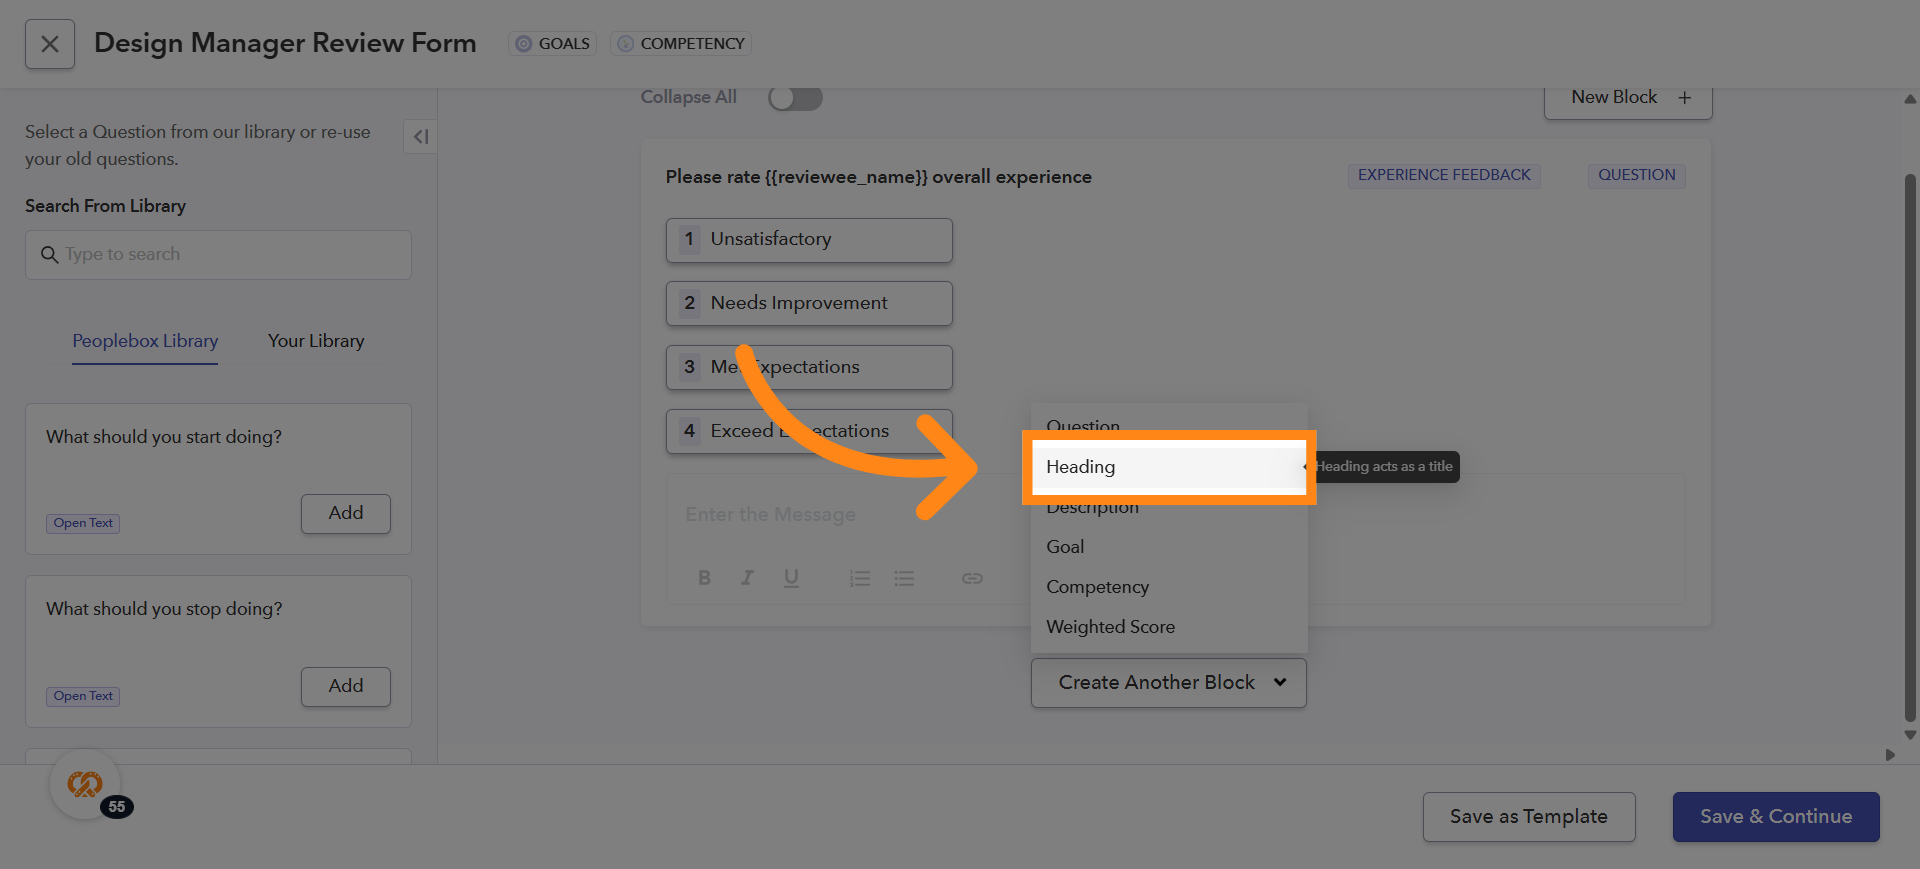
20. Add a Heading
If you want to add a heading for a form, click on the Heading option under Create Another Block
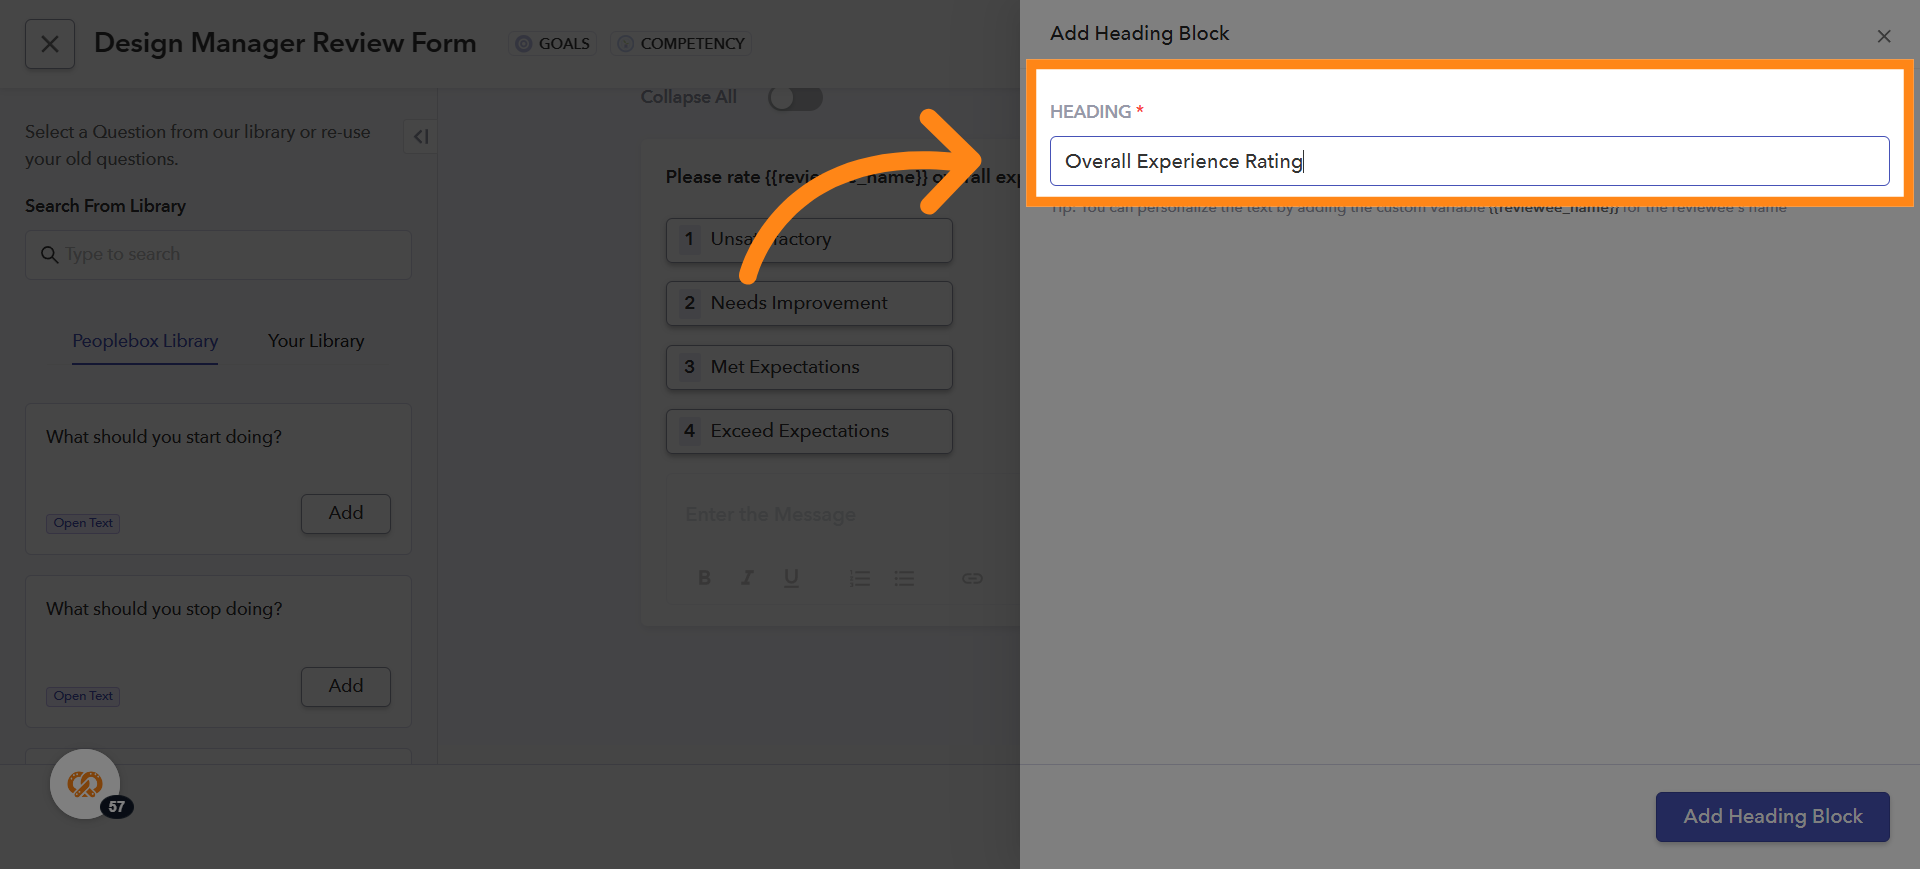
21. Enter the Heading Name
Under the Heading field, enter the name heading name you want to give to your form
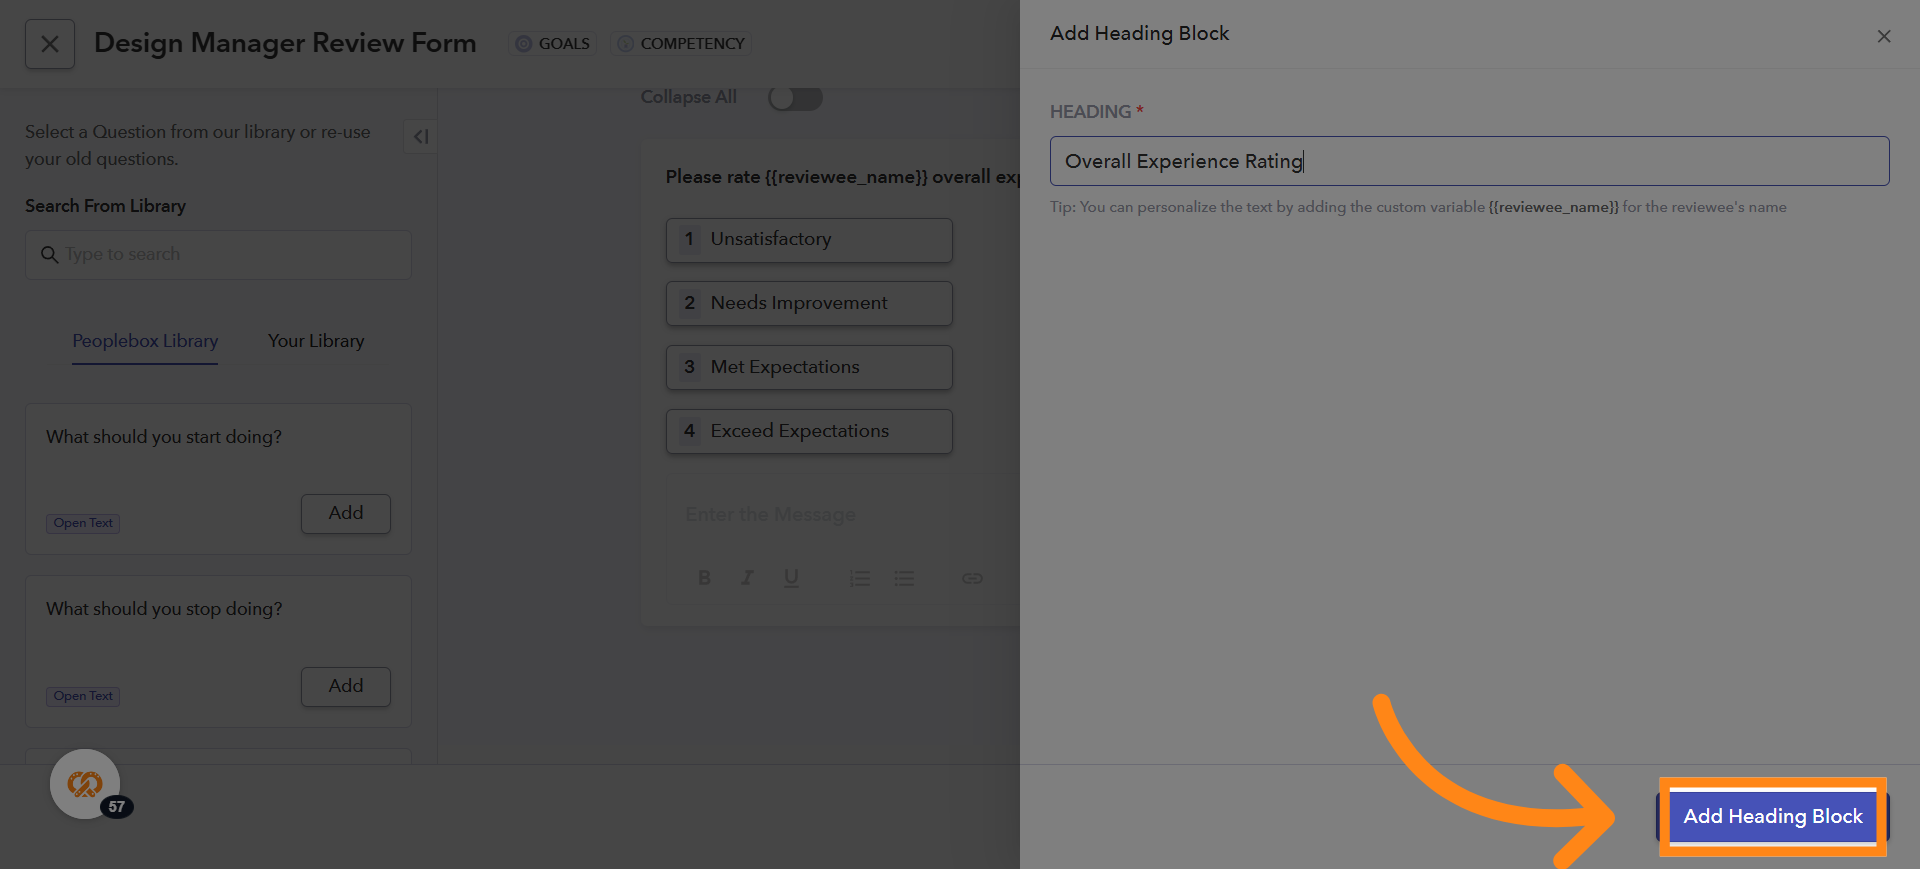
22. Adding the Heading to the Form
After entering the heading name, click on Add Heading Block to insert the heading into your form
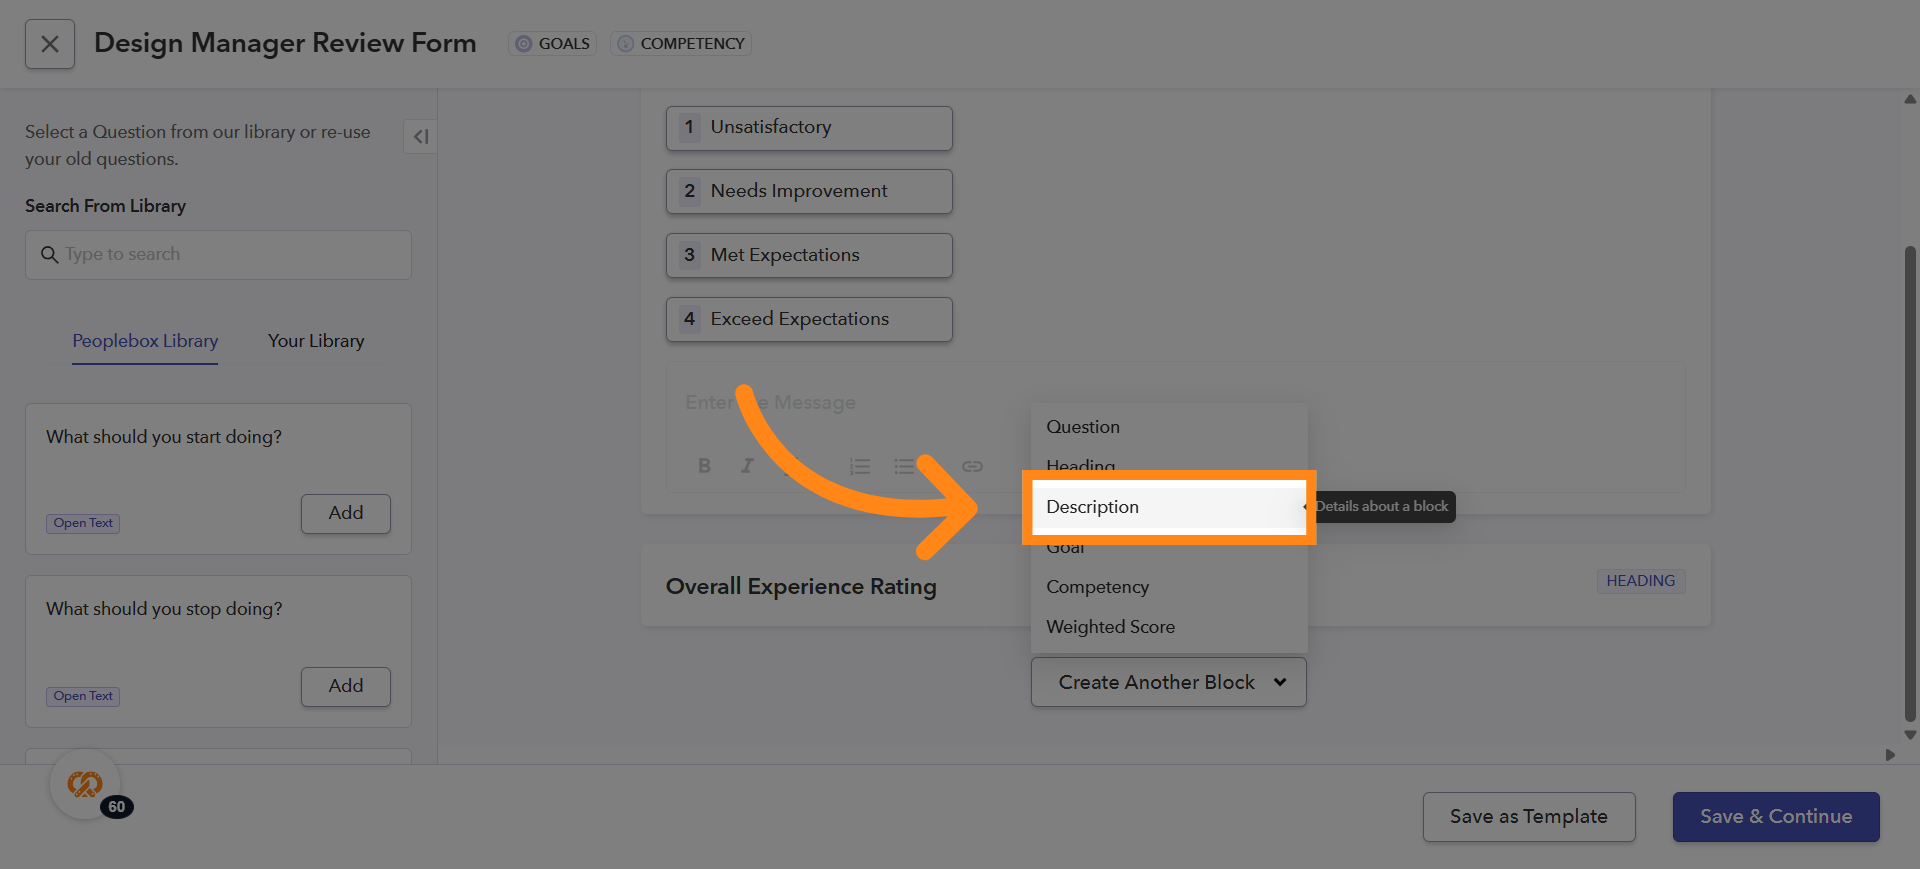
23. Adding a Description
If you want to add a description to your form, click on the Description block to add the description
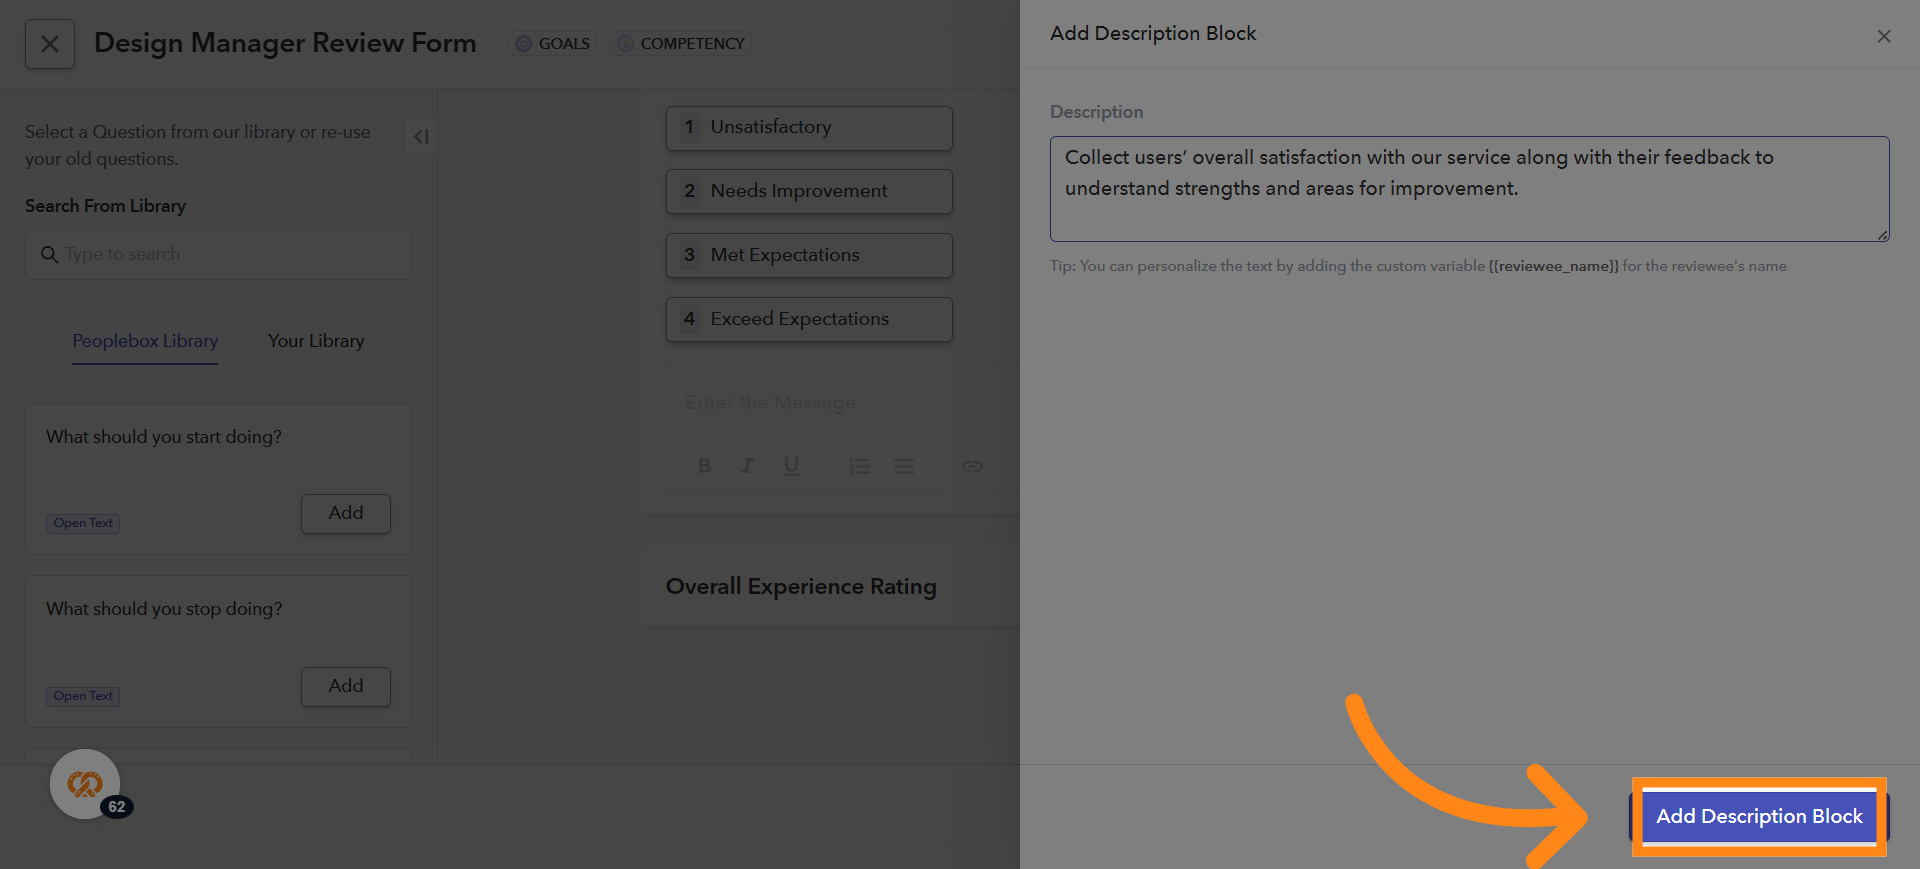
24. Enter the Description
Under the Description field, enter the text you want to display for your form
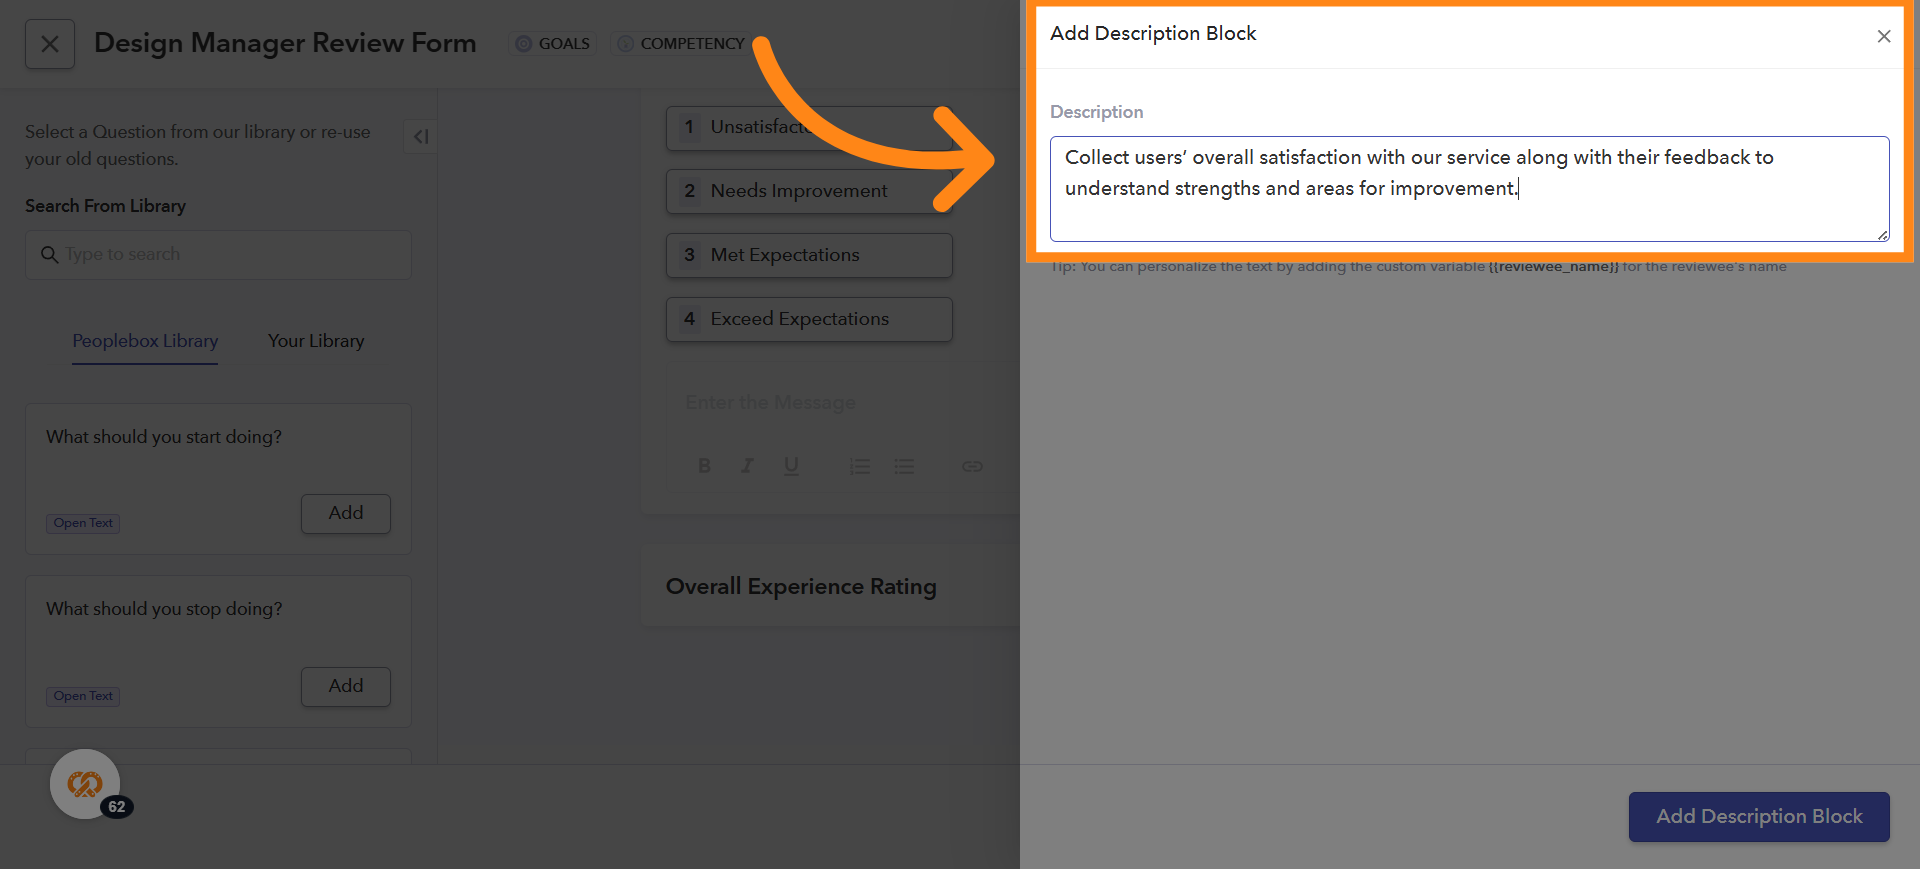
25. Enter Description Content
Enter the text: Collect users’ overall satisfaction with our service along with their feedback to understand strengths and areas for improvement
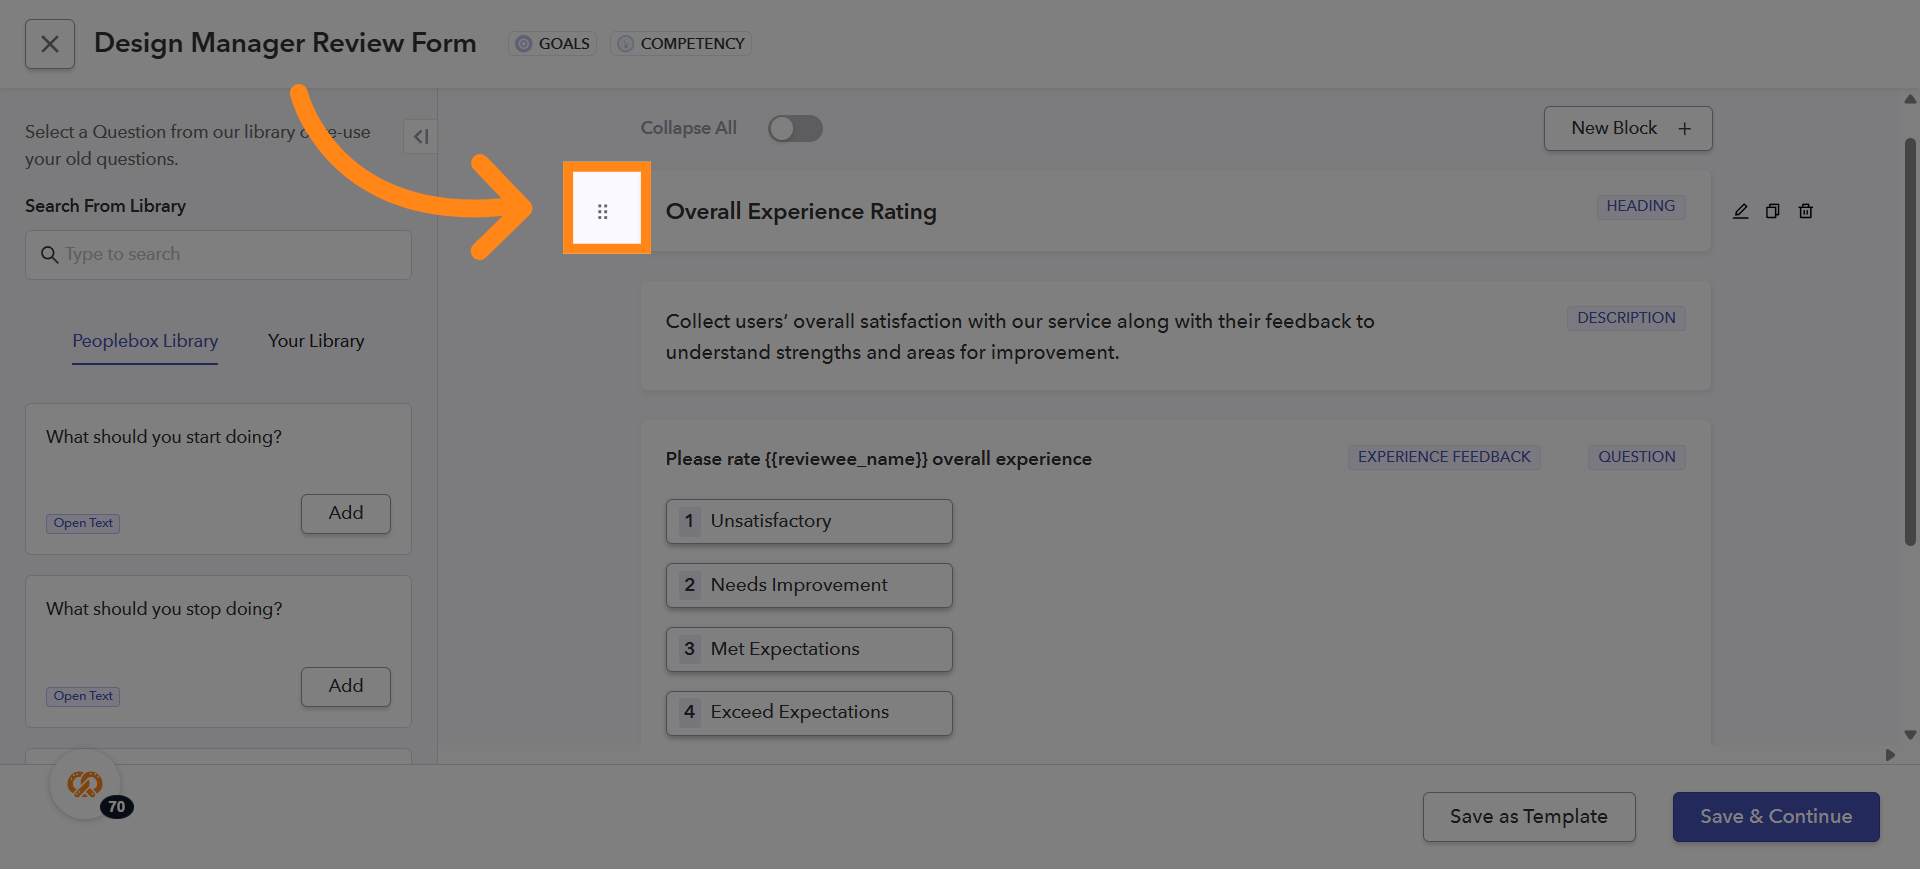
26. Reordering Questions, Headings, or Descriptions
If you want to reorder a question, heading, or description: Place your cursor near the left side of the item you want to move. When you hover over the left side, you will see six dots appear. Click and drag the item to the desired position in your form
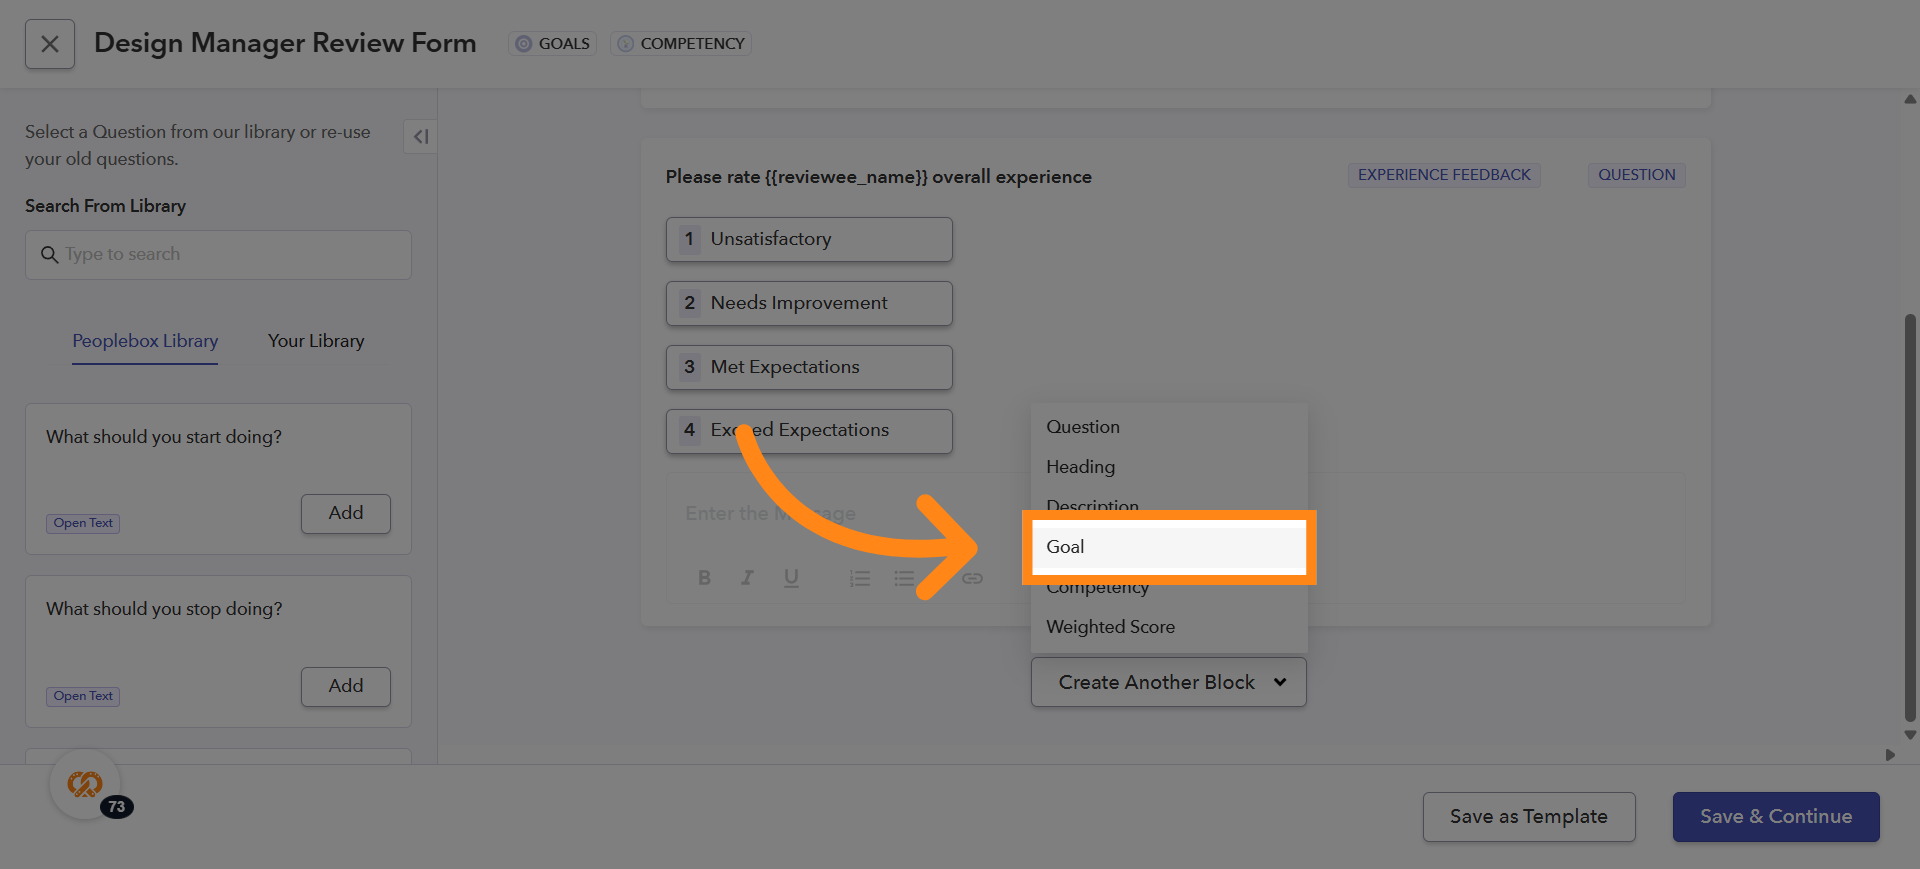
27. Click Goal Area
If you want to include a Goal block in the form, click on the Goal Block option under the Create Another Block section
28. Customizing Goal Block Questions
You can customize the questions displayed in the Goal Block

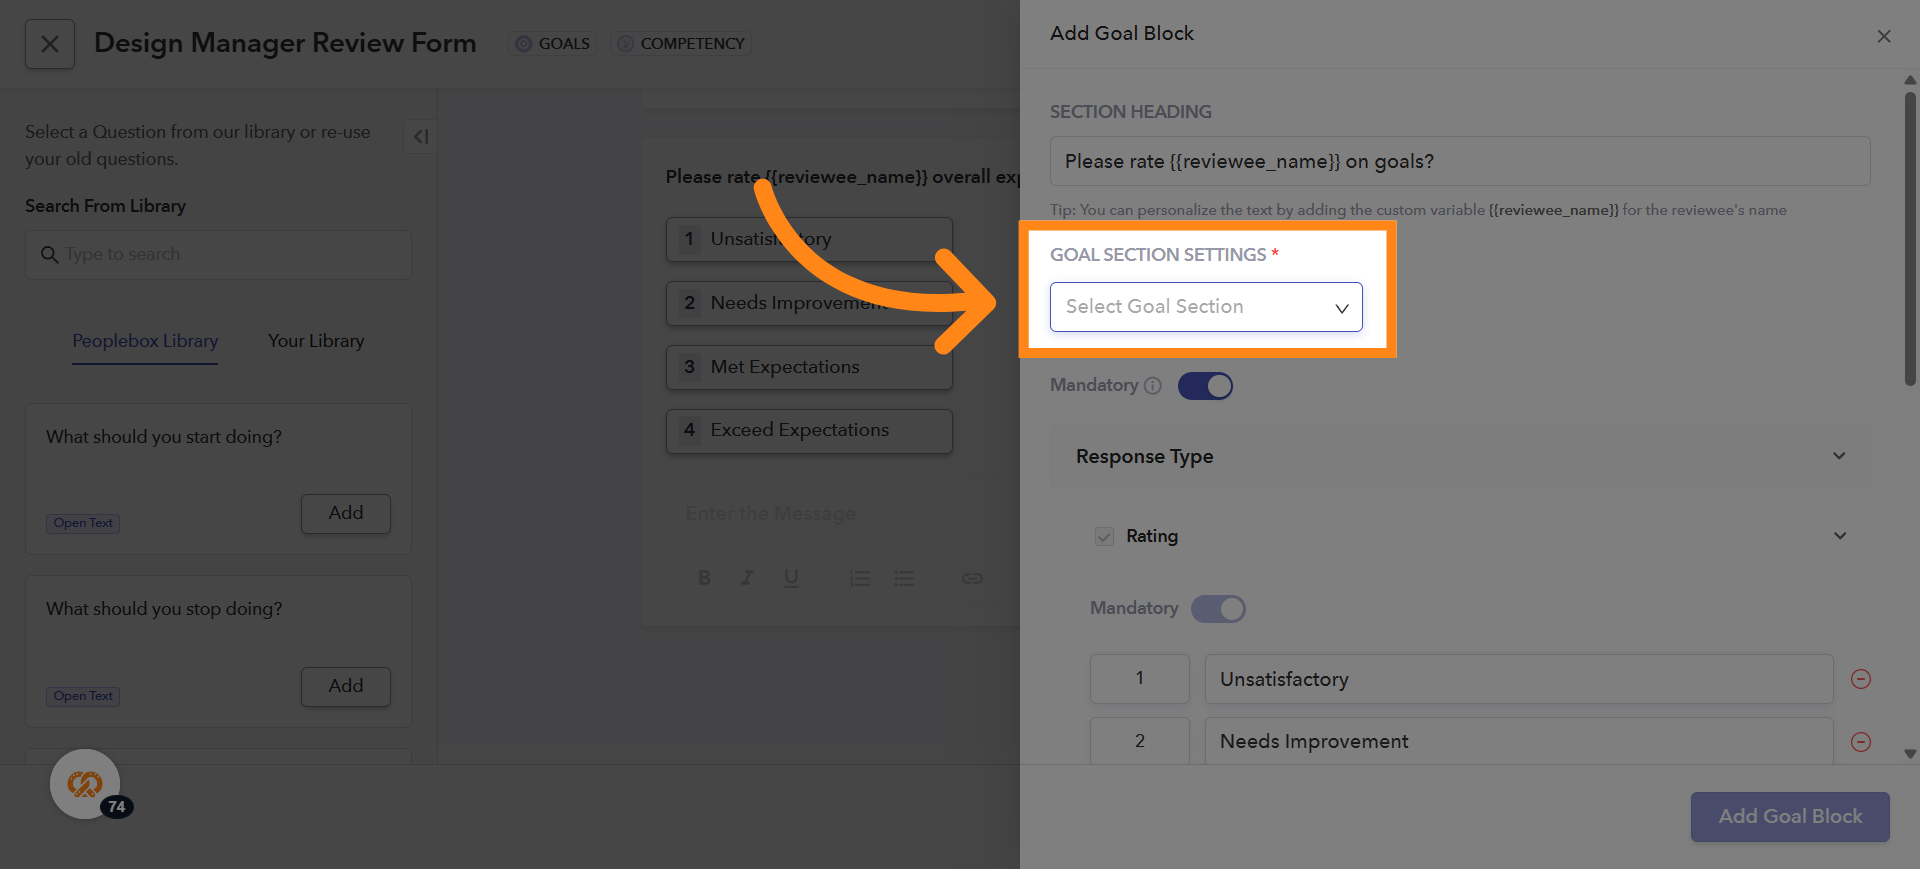
29. Select Goal Section
After clicking on the Goal Block, the Goal Block screen will open:
Select a Goal Section – If you have created any additional goal sections in Step 2: Config, choose the section under which you want this goal to fall
Default Section – If no additional sections have been created in Step 2: Config, select the default goal section displayed by the system
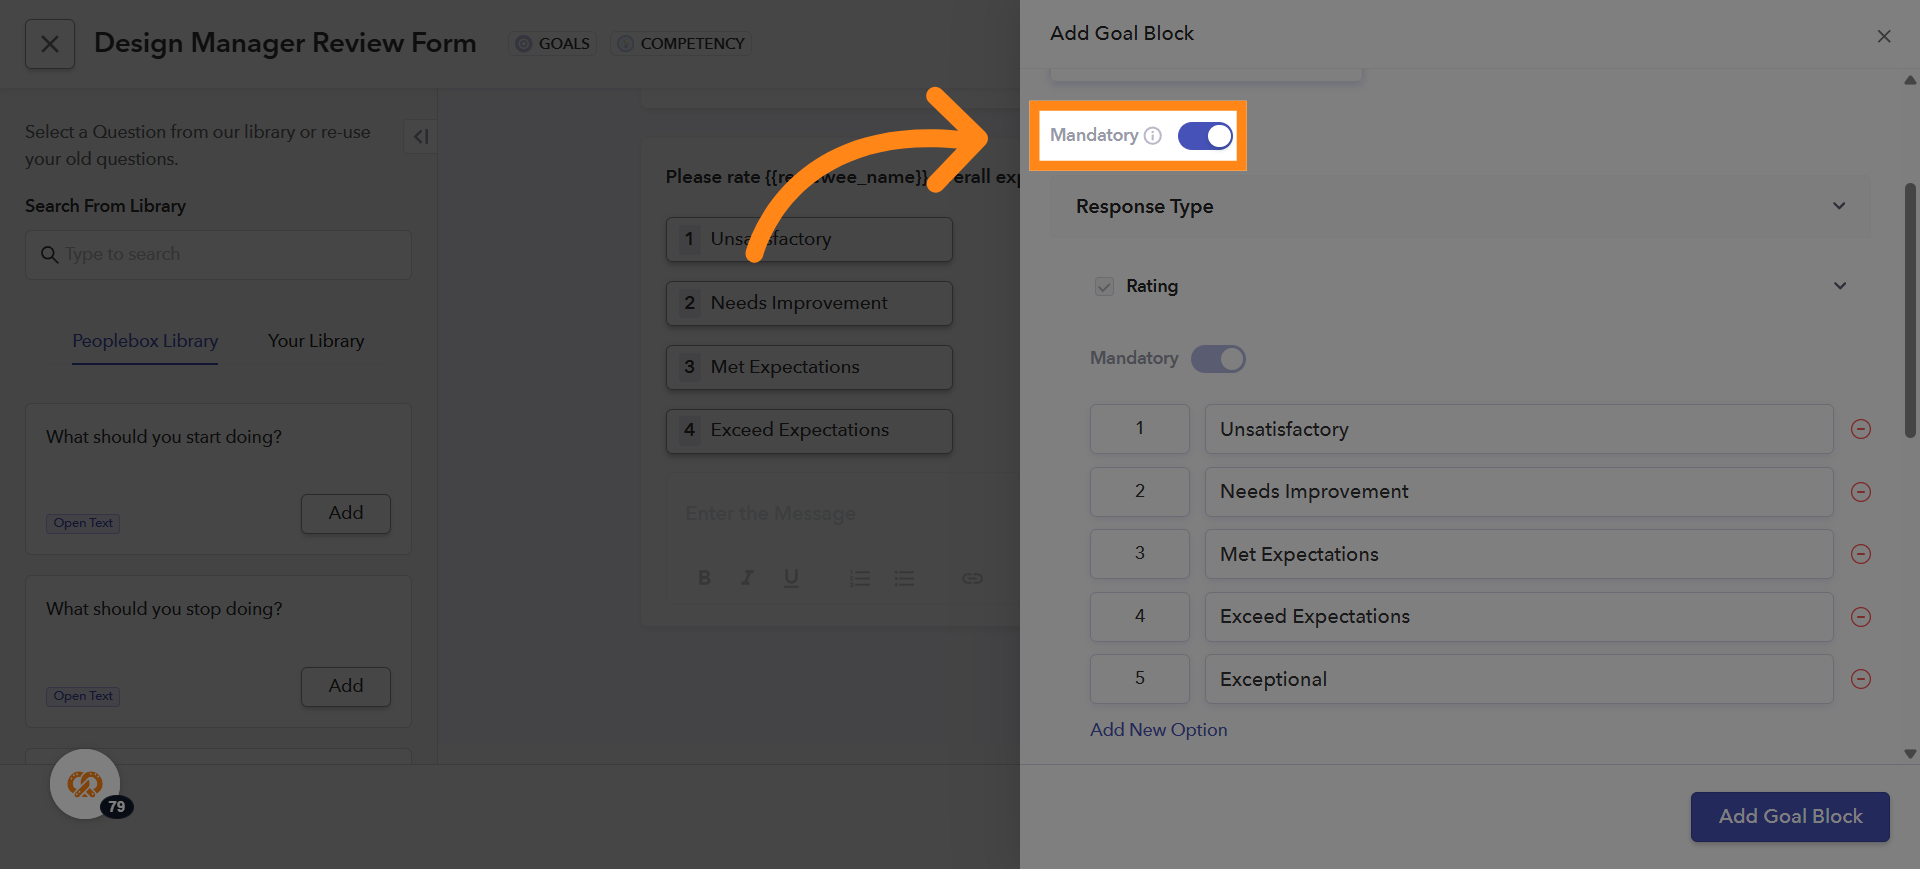
30. Making Goal Block Questions Mandatory
To make a Goal Block question mandatory, turn on the toggle button present near Mandatory field
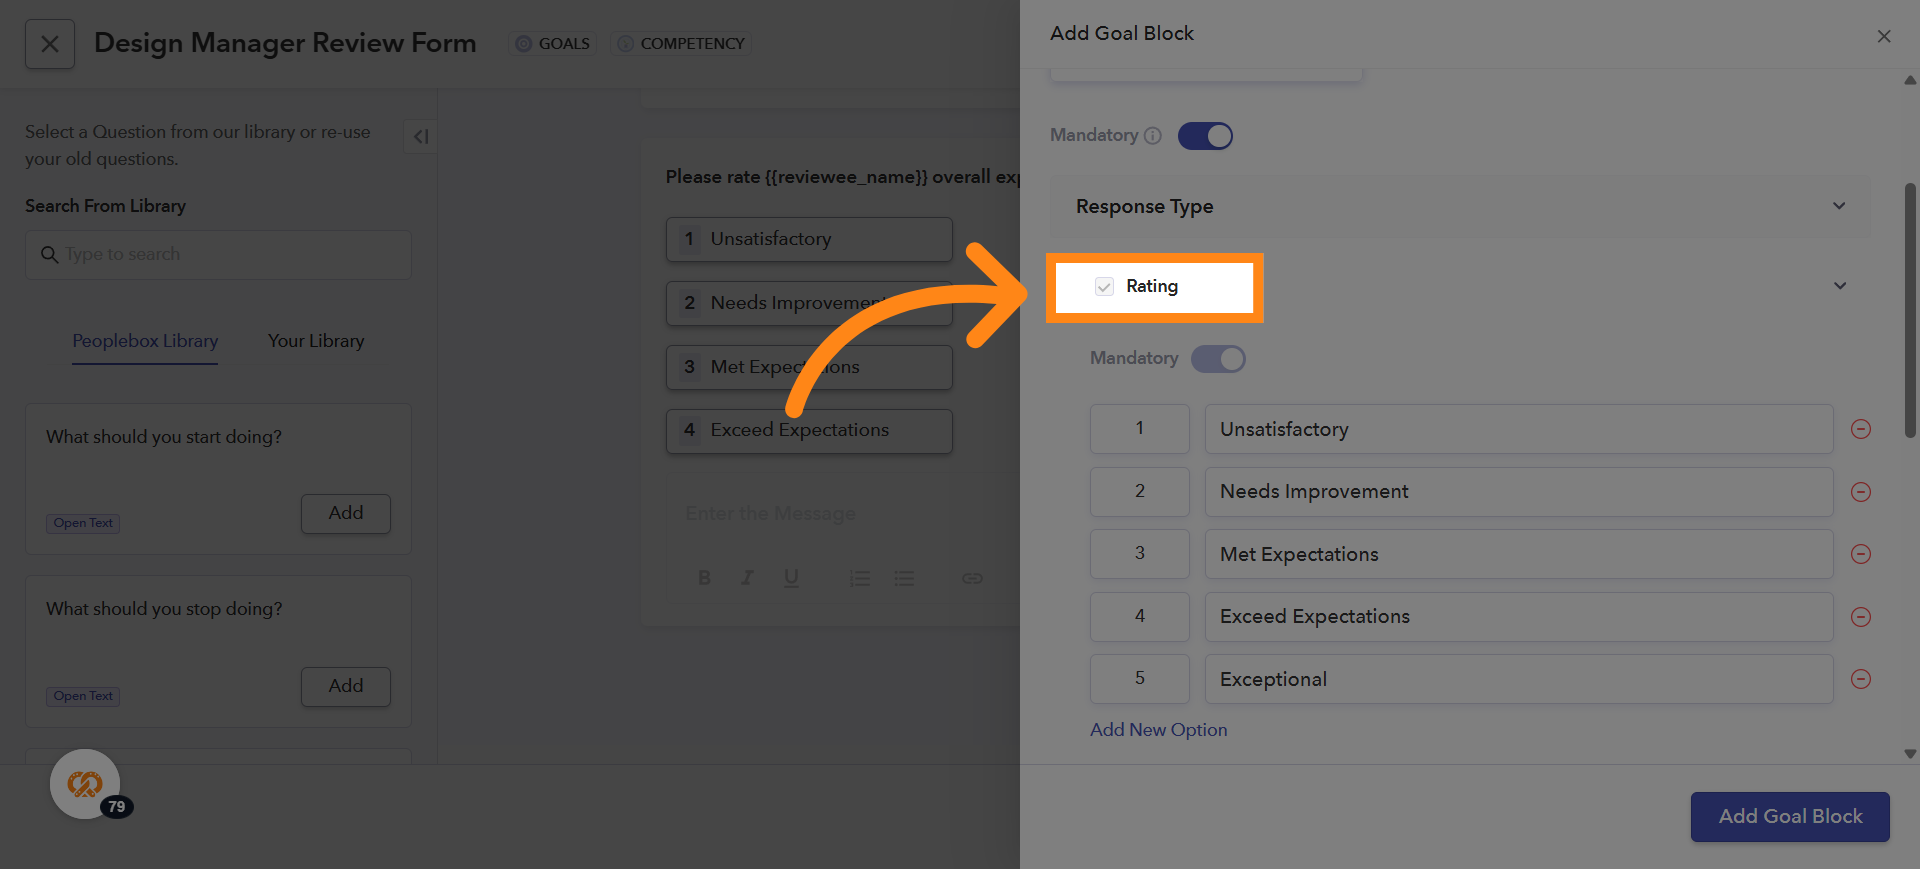
31. Choosing the Question Type for Goal Block
In the Goal Block, there are two types of questions you can enable: Rating-Based Goal Question Open-Text Goal Question You can select either one or both, depending on what you want to display in the Goal Block. If you choose to include a rating-based question, make sure to tick the checkbox next to “Rating” to enable it for the goal
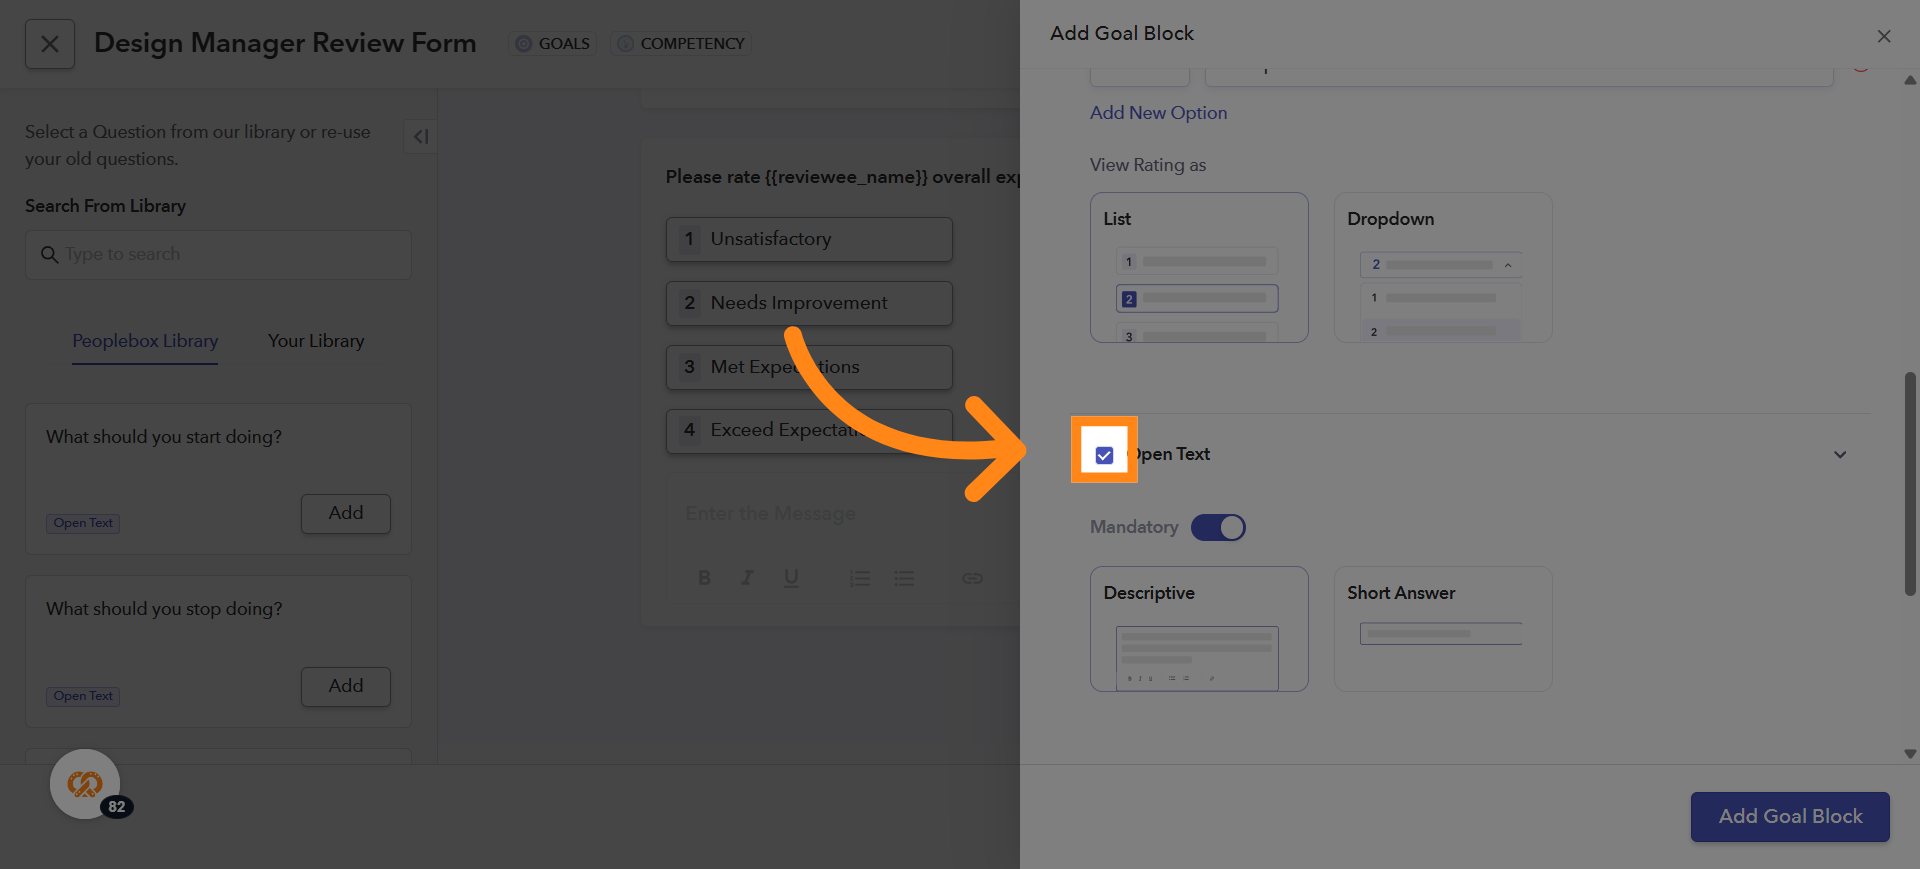
32. Enabling Open-Text Questions in the Goal Block
If you want to include an open-text question in your Goal Block, tick the checkbox next to Open Text. This will enable the open-text field for that goal
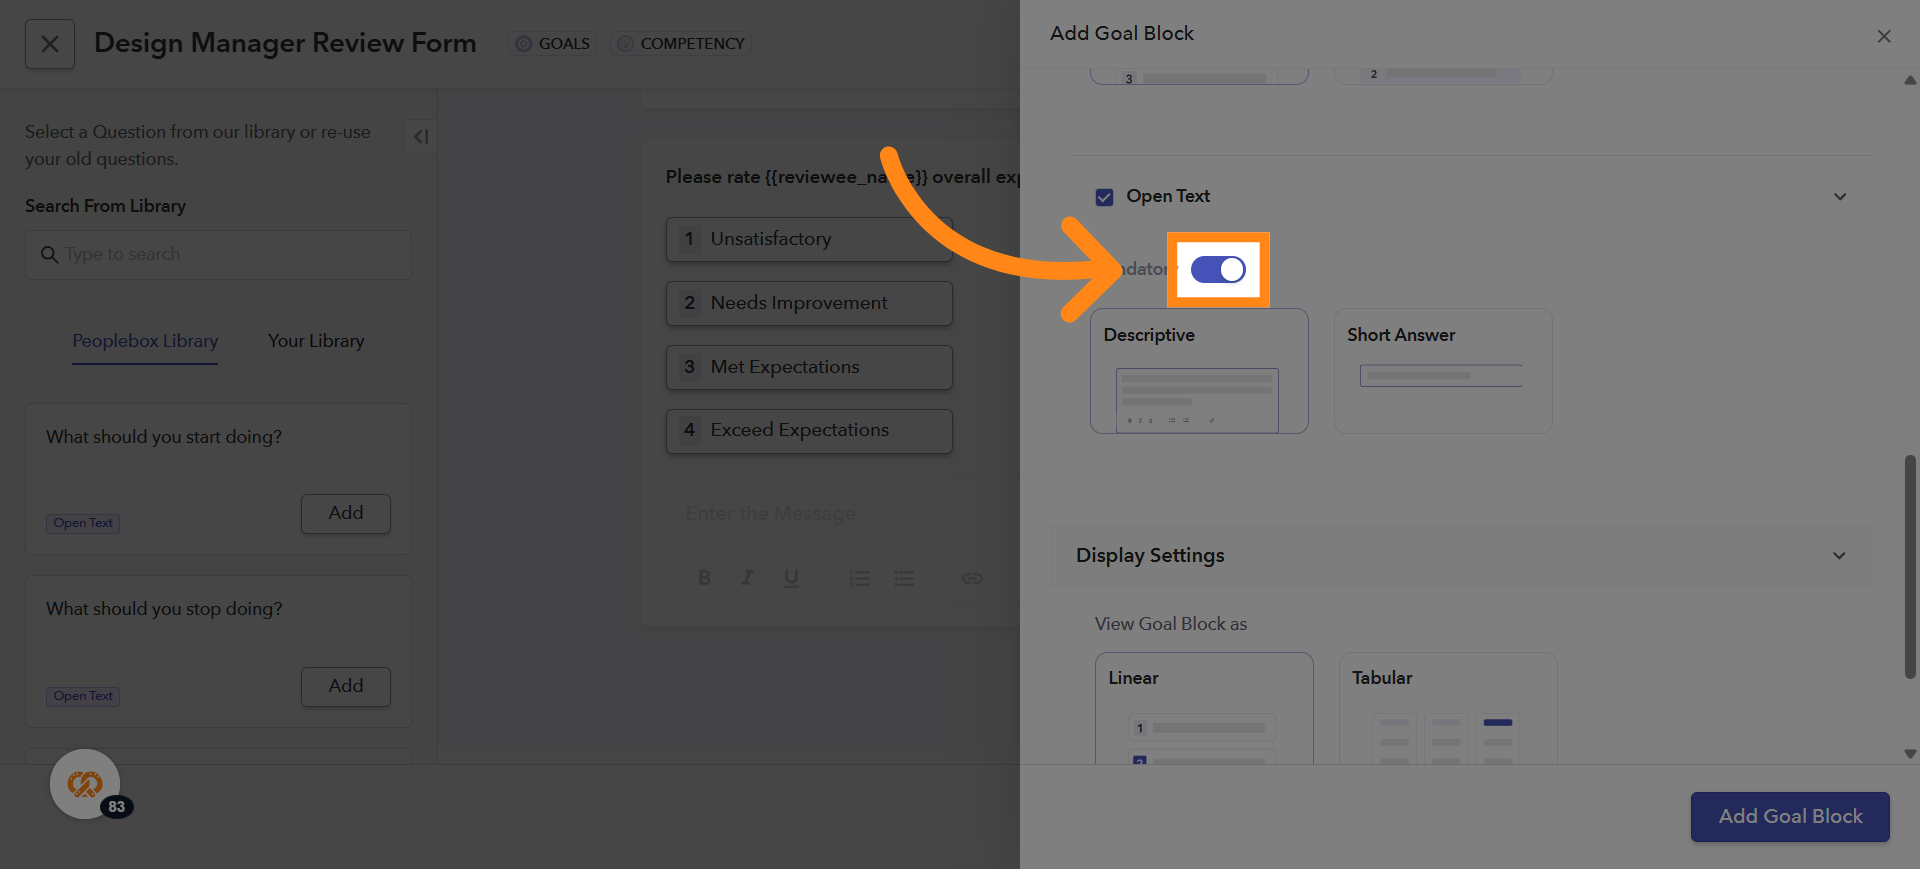
33. Making the Open-Text Field Mandatory
You can also make the open-text field mandatory by turning on the toggle button next to the Mandatory field
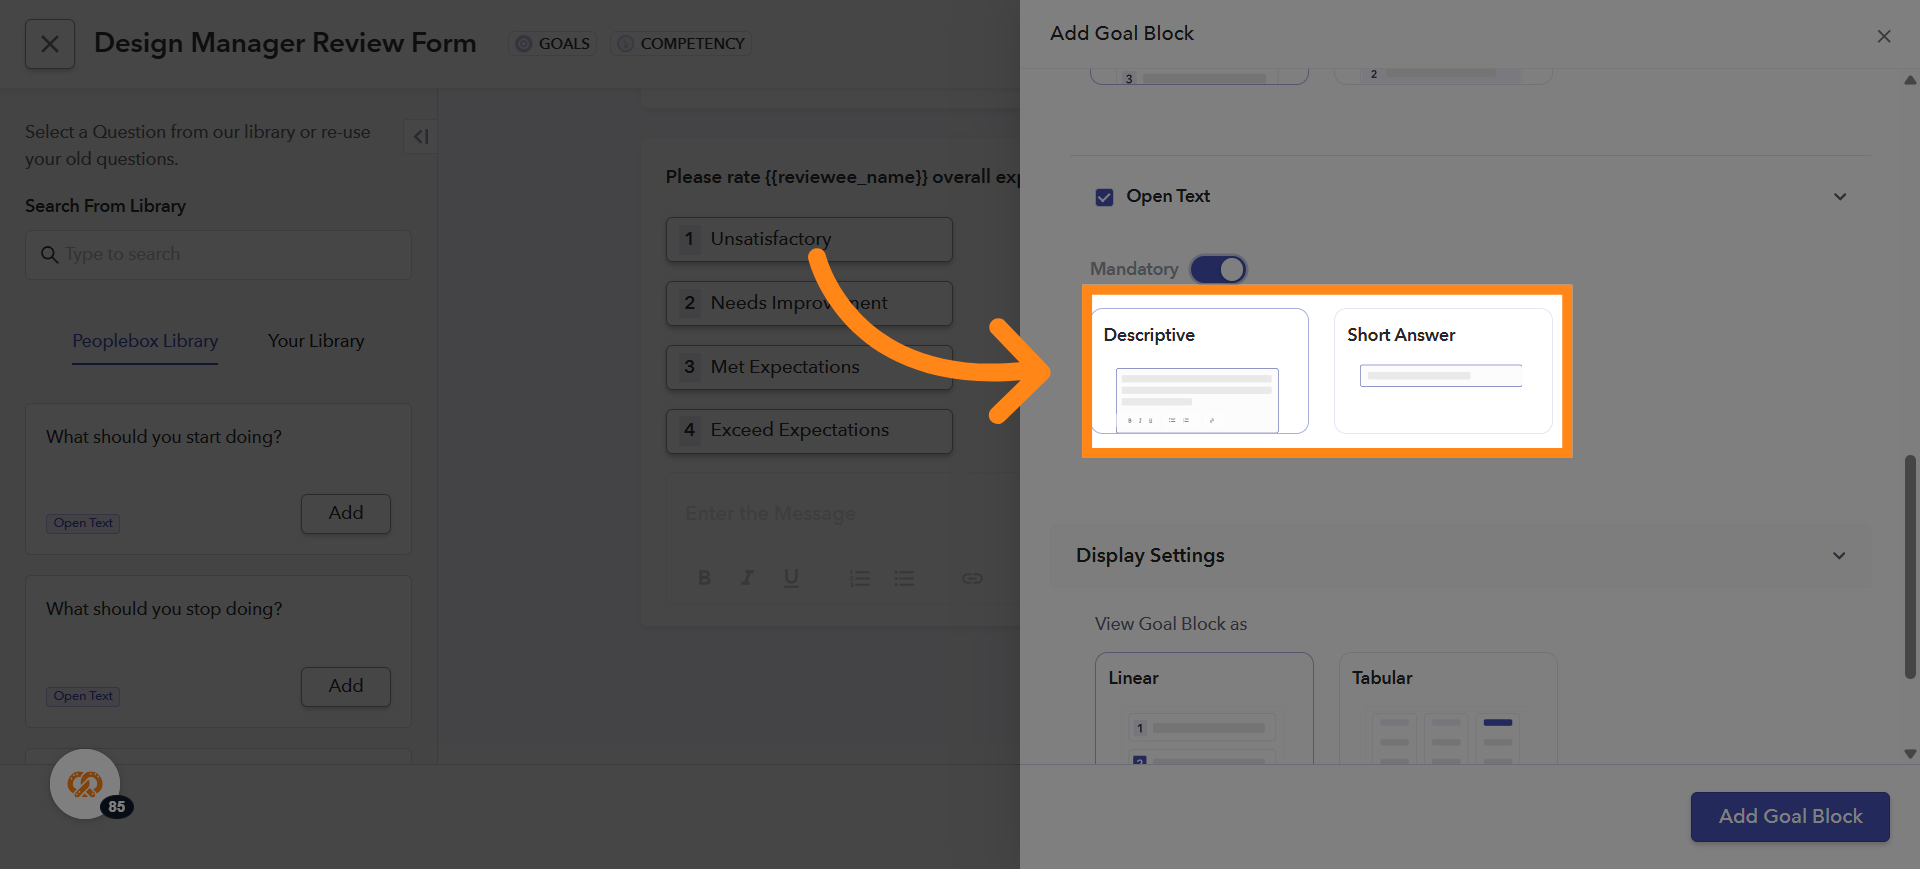
34. Setting the Display Style for Open-Text Goal Questions
You can choose how the open-text goal question should be displayed. The available display styles are:
Descriptive – Provides a larger text area for detailed feedback
Short Answer – Provides a smaller text box for brief responses
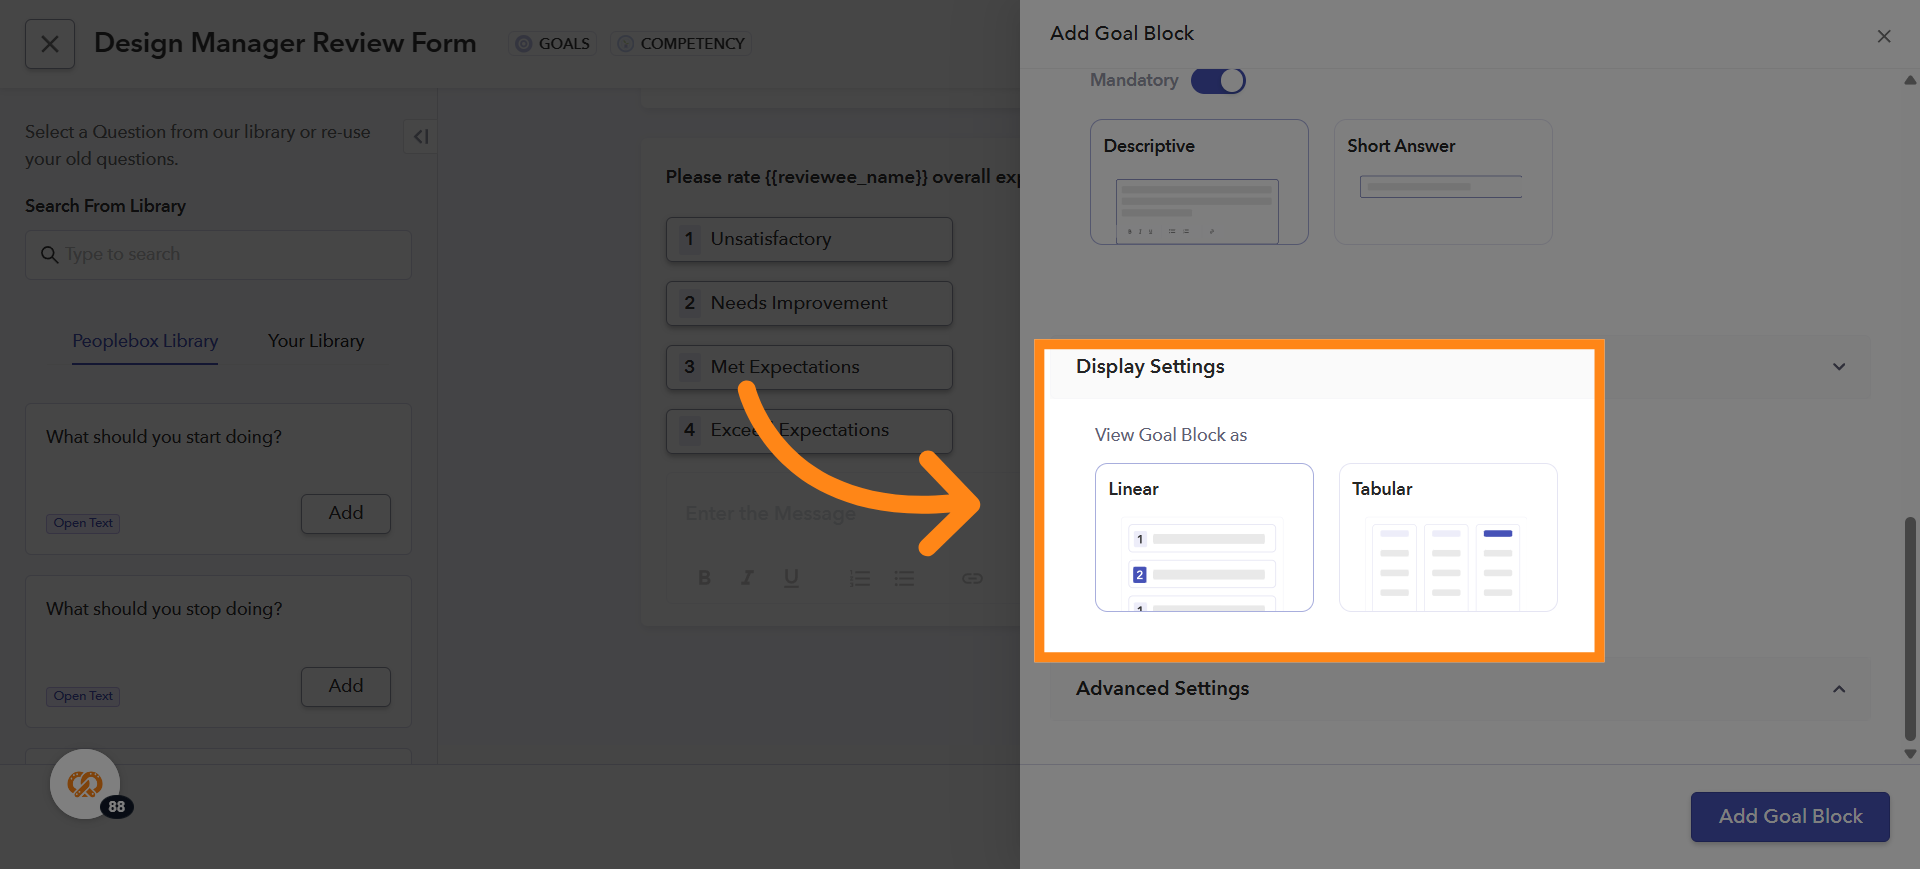
35. Goal Display Options
You now have two ways to view goals: Linear Mode (existing view): A simple scroll-through layout, useful for quickly reading goals. Tabular Mode: A clean, grid-style layout that makes it easier to view and compare goals side by side. Customizable Columns in Tabular Mode You can adjust the goal display based on what you want to see: Choose which columns should be visible Arrange the columns in any order Create a layout that fits your team’s workflow
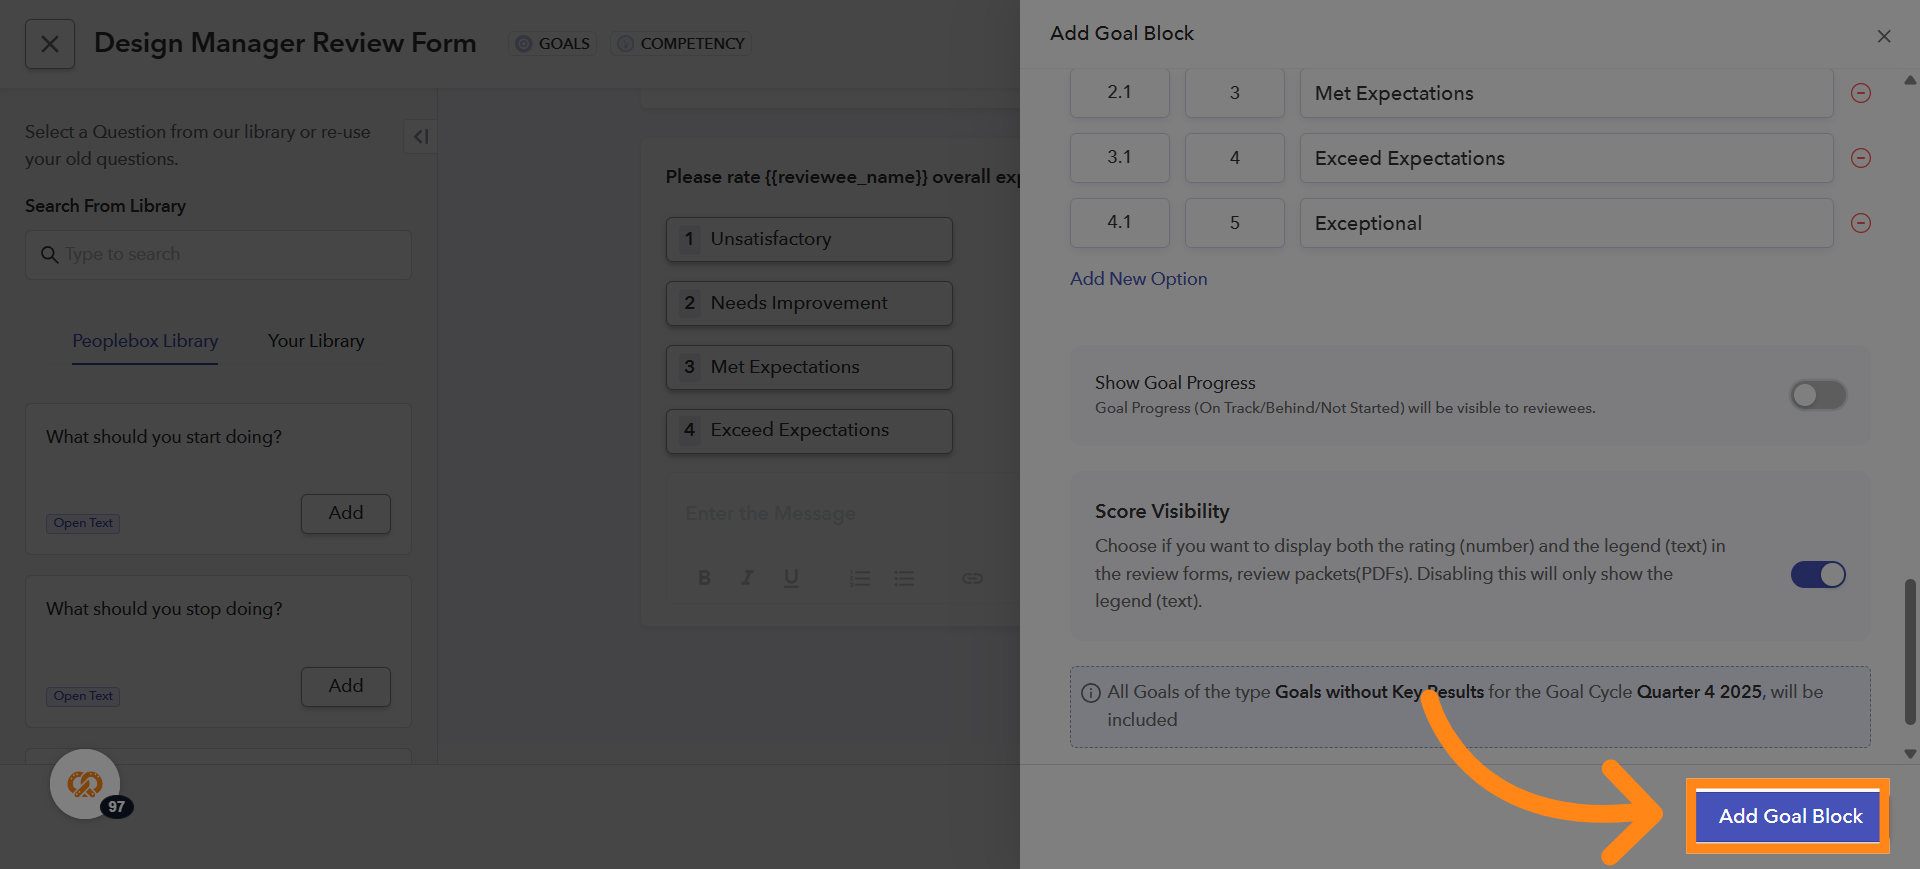
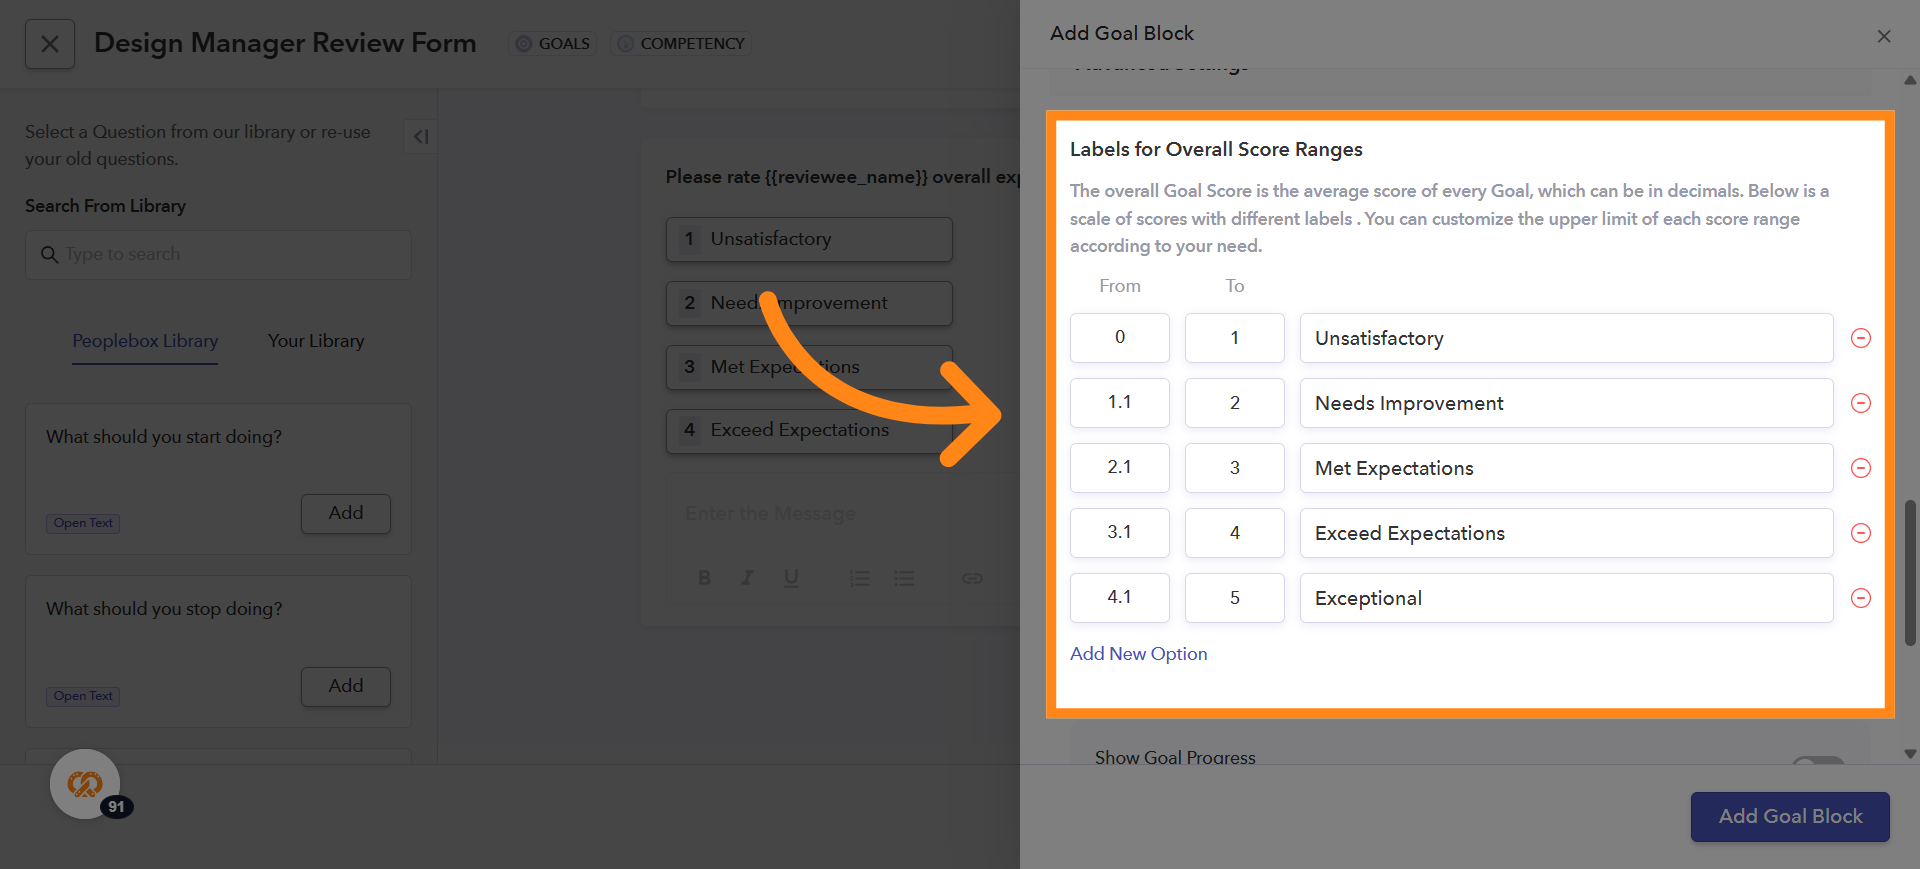
36. Overall Score Ranges for Goals
Under Advanced Settings of the Goals Block, you can view the overall score ranges. You can modify both the rating ranges and the legends based on your requirements
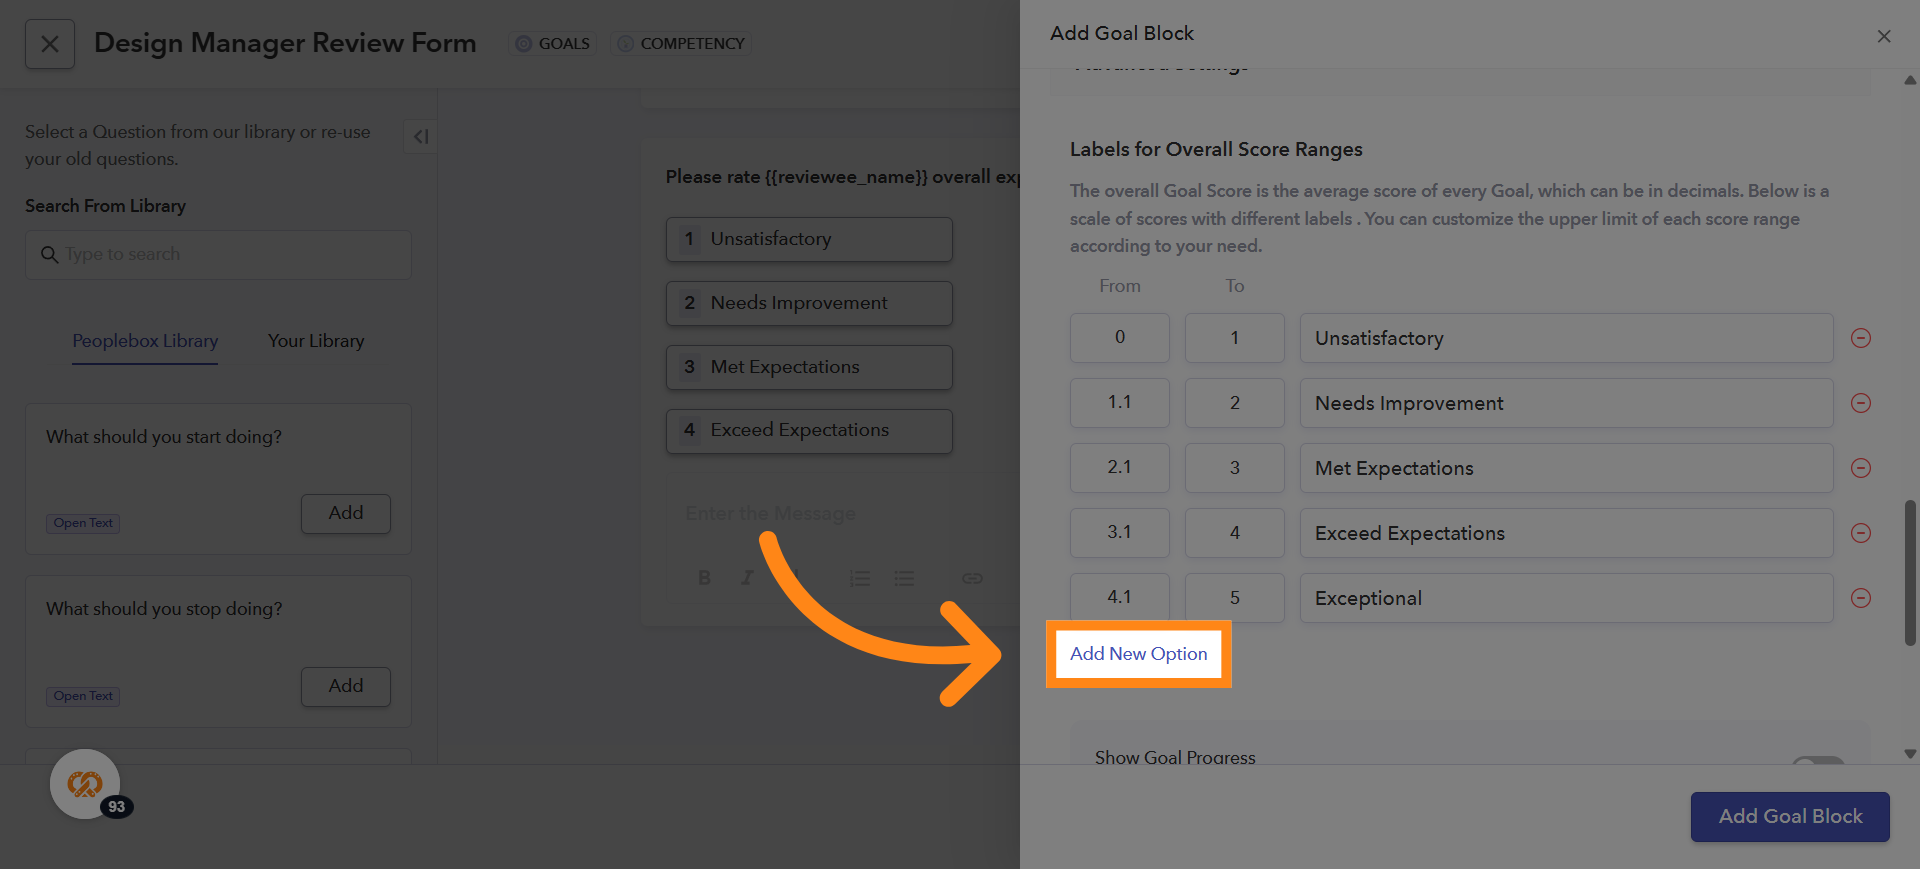
37. Add Additional Ratings and Legends
You can also add new ratings and legends if needed by clicking on Add New Option
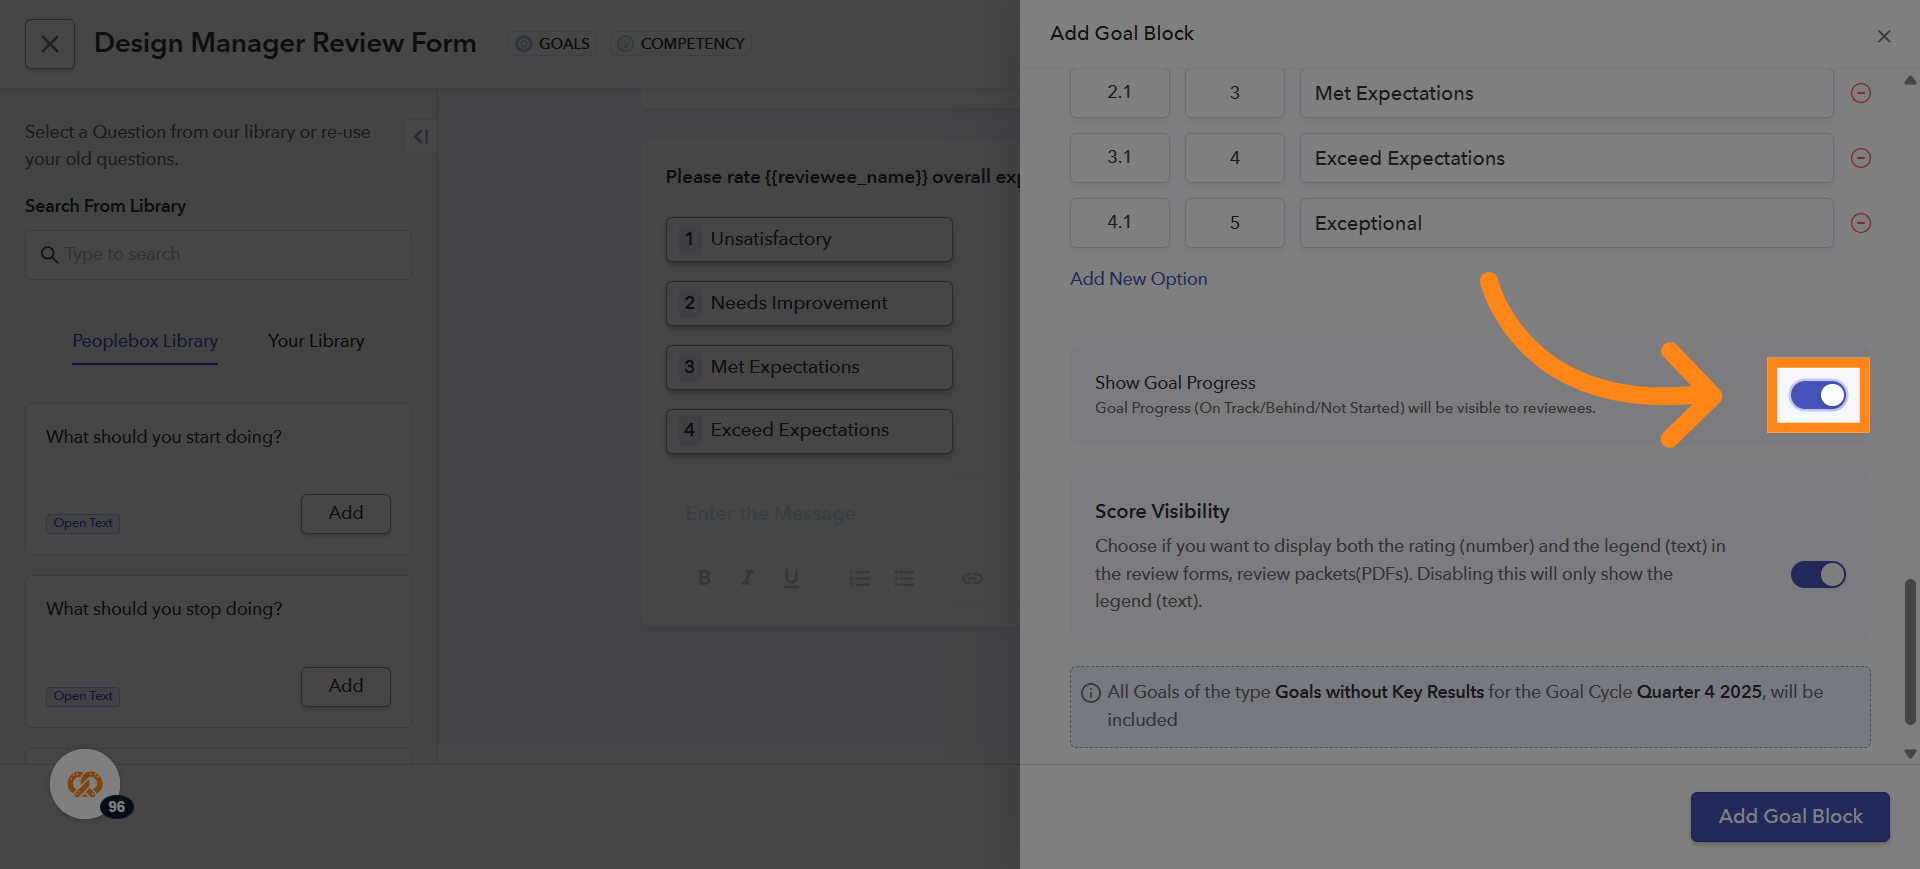
38. Show Goal Progress in Reviews
If you want to display goal progress while giving reviews, turn on the toggle button next to Show Goal Progress field
39. Adding a Goal Block Question to the Form
Click on Add Goal Block to ad question into the form. If you want to add a Competency Block to the form, you can follow the same steps used for adding a Goal Block. All instructions for adding, configuring, and customizing a Goal Block apply in the same way for Competency Blocks